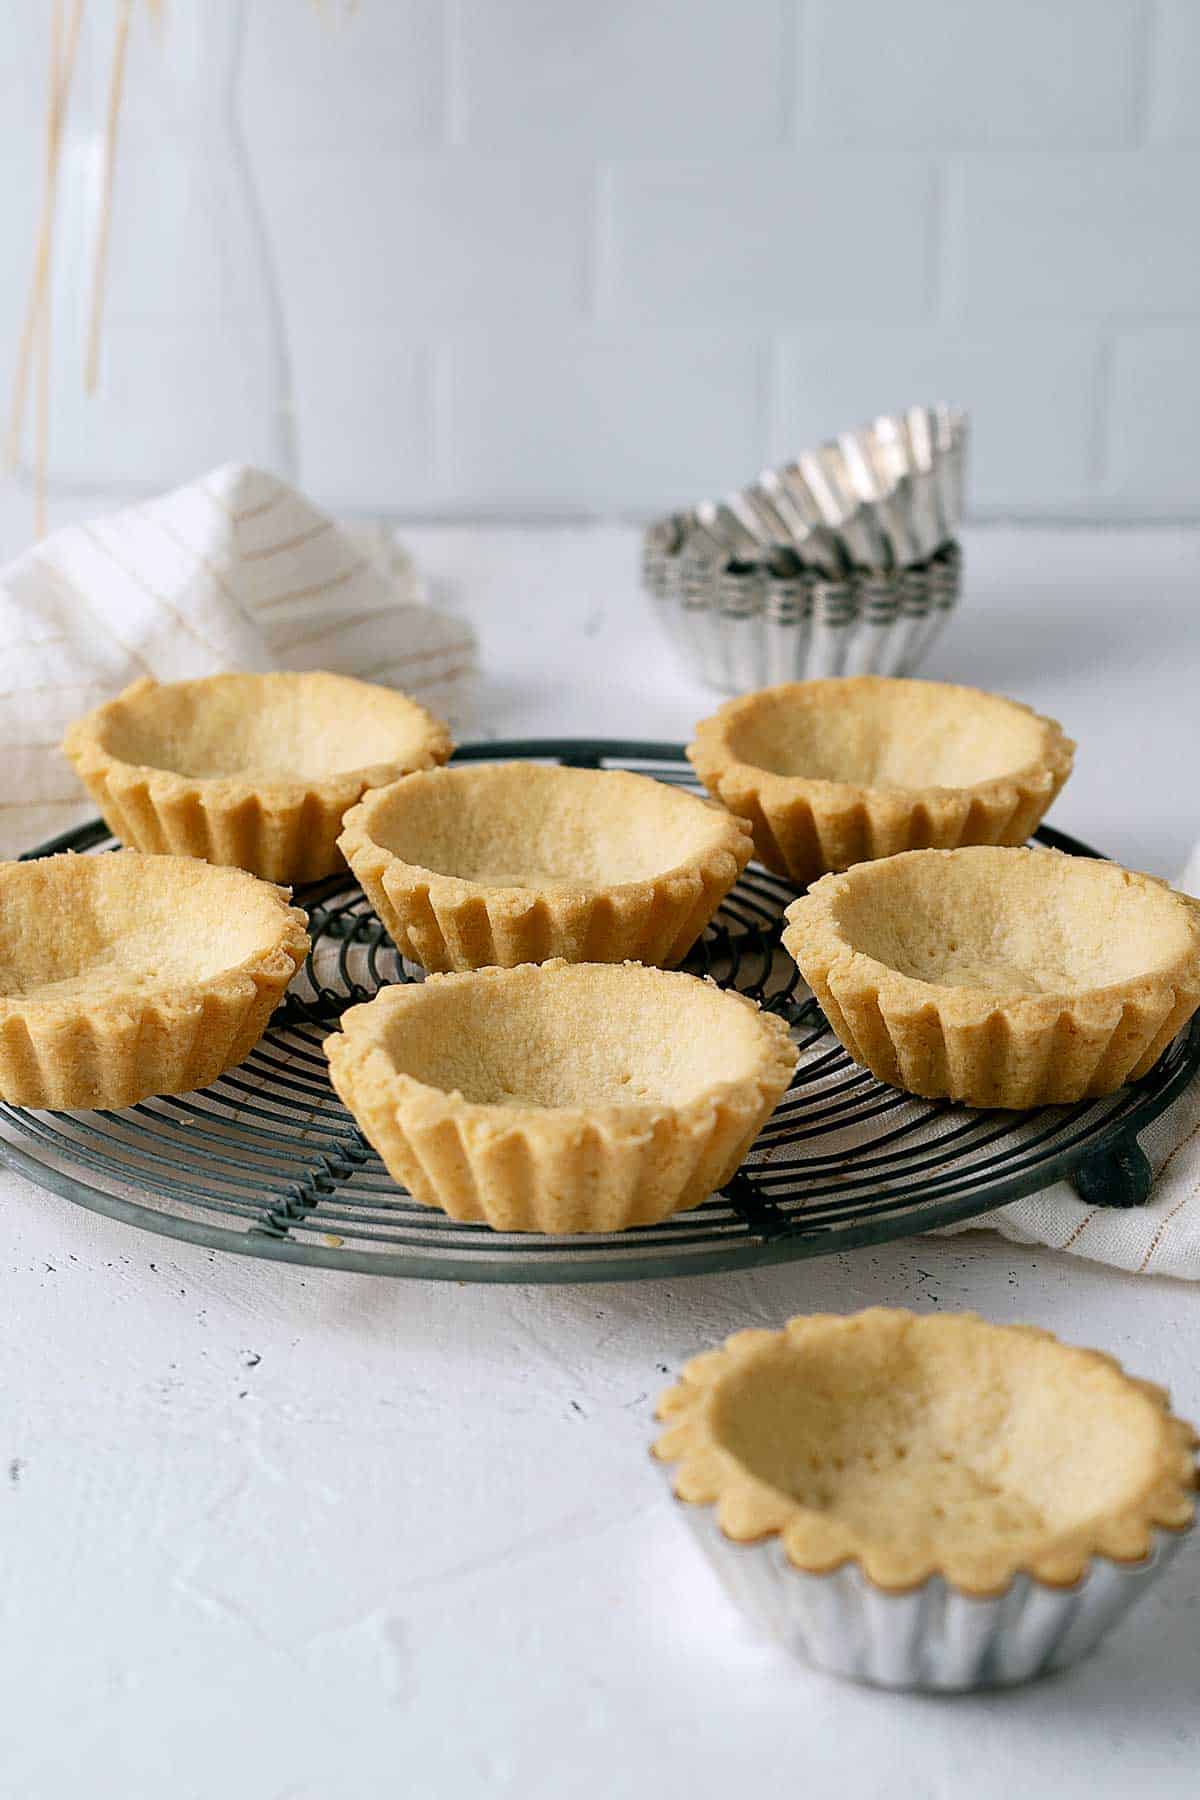
Who doesn't love tarts, right? And the thing with tarts is, that the shells are just as important (if not more) than the filling itself.
Flaky and buttery is what we're looking for in tart shells. And on top of those, easy to make. So today I'm going to share with you all those.
📮 Save this recipe for later!
Jump to:
Lets Talk Ingredients
This recipe is my go-to recipe for my tart shells. I've been using it for a while for both my sweet and savoury. It's simple and it works.
Butter - I use unsalted butter (in all my baking). Salted butter works fine also. Make sure it's softened (less firm than room temperature state).
Sugar - White sugar. Using brown sugar also works but just bear in mind it's going to make the shells' colour darker and turns the texture chewy. More details on sugar are below.
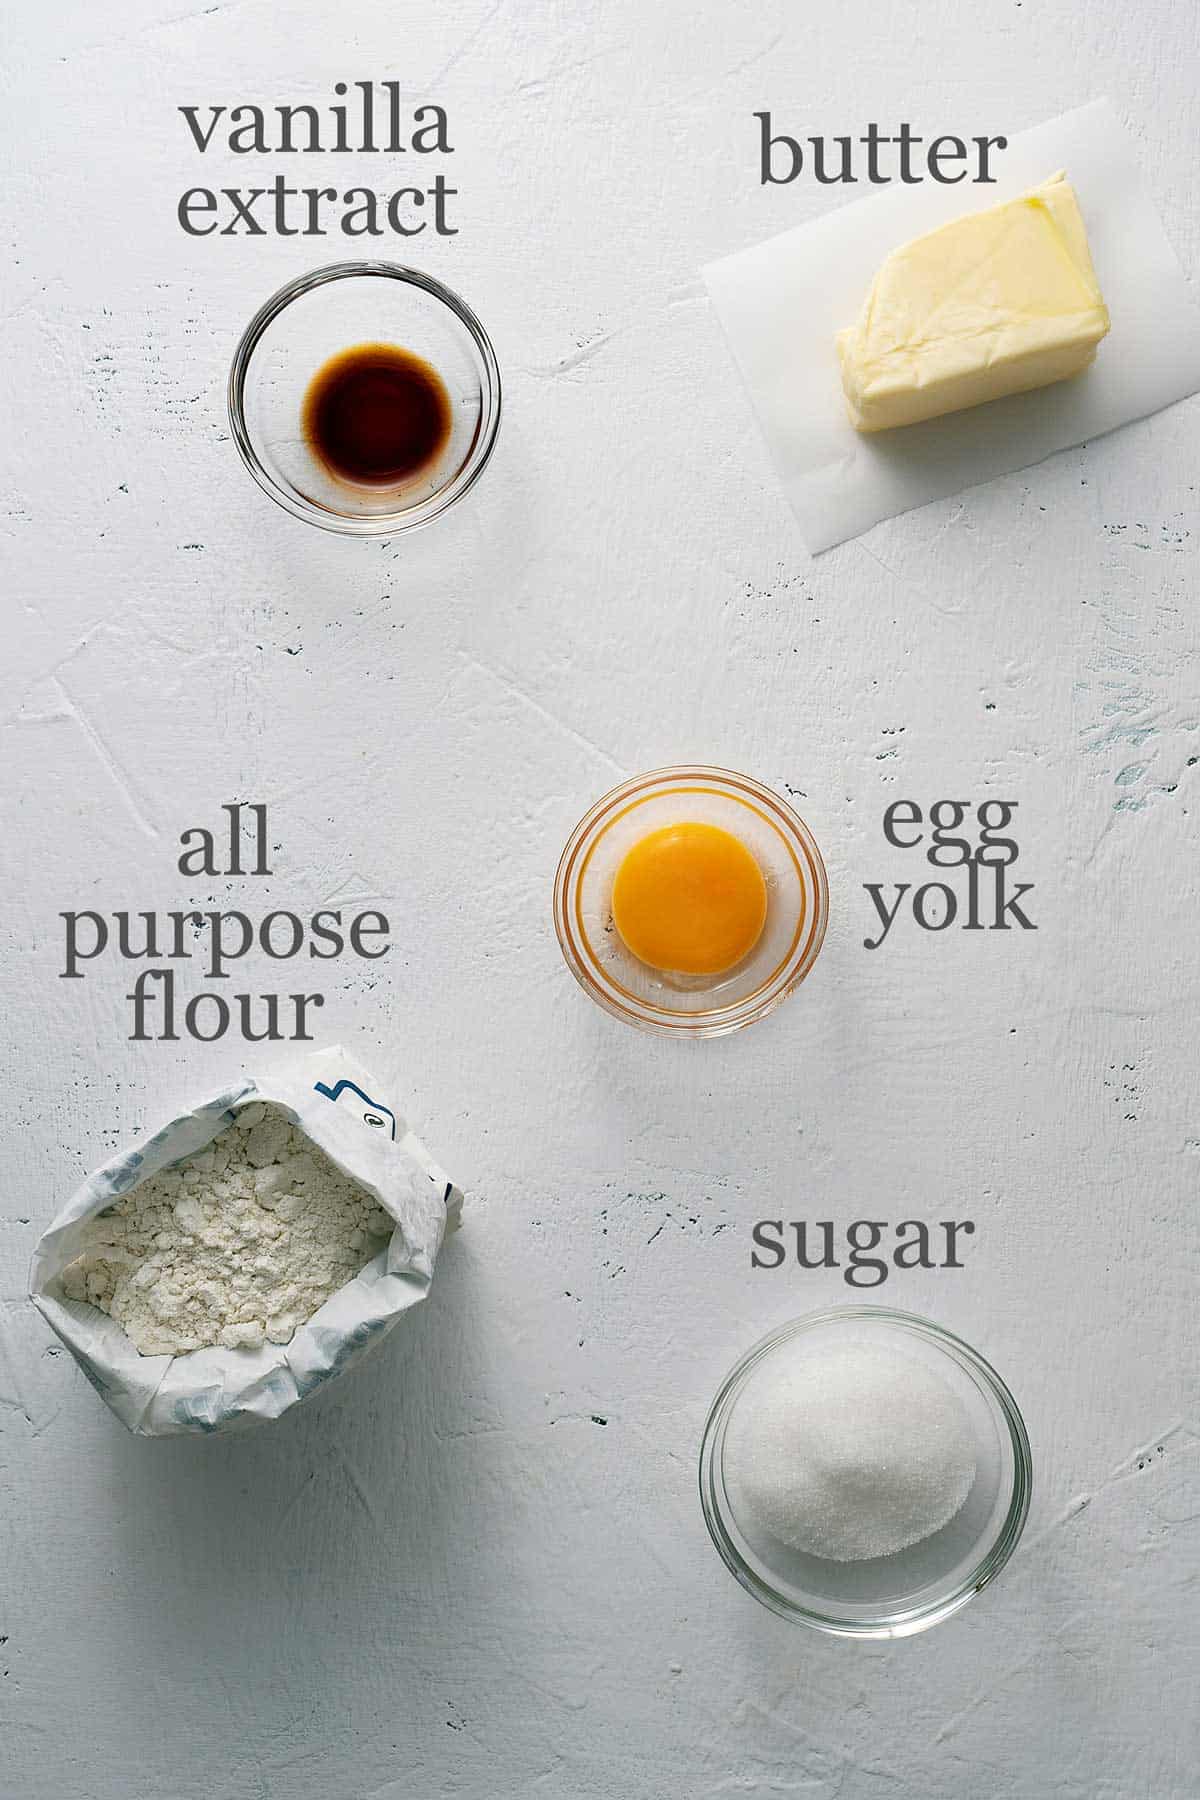
Yolk - Don't skip this. It helps to make the dough pliable and easier to handle.
Vanilla extract - Because why not. Depending on your filling, add in almond, coconut extract, and citrus zest for example. If you want.
All-purpose flour - I've only used all-purpose flour with this recipe as it works wonderfully with the ratio of the rest of the ingredients. Changing the flour will affect the end result.
Can I Use It For Sweet Or Savoury?
That's why I love this recipe because you can use it for both sweet and savoury. Here's how.
Sweet tarts - Use 2 tablespoon sugar.
Savoury tarts - Use 1 teaspoon sugar and add in also ½ teaspoon salt.
The rest of the ingredients stay the same. Easy, right?
Tips On Getting It Right
This is a fairly easy and straightforward recipe. However, there are some tiny details that will definitely help you make the shells, stress-free.
Soften butter - As I mentioned above, you'll need the butter to be softened. This will make it easier to blend the sugar in without having to whisk like crazy (which we don't want to do).
Chill the dough - Don't skip this part because the dough is too soft to handle, without chilling it. A minimum of 30 minutes is just perfect.
Freeze before baking - Pop the tarts in the freezer for 10 minutes while you preheat the oven after you press the dough into the tarts moulds. Don't like freezers? Then chill them for a good 30 minutes in the fridge.
Bake on the lowest rack - This ensures the shells bake beautifully and evenly without browning the top too much.
How To Store?
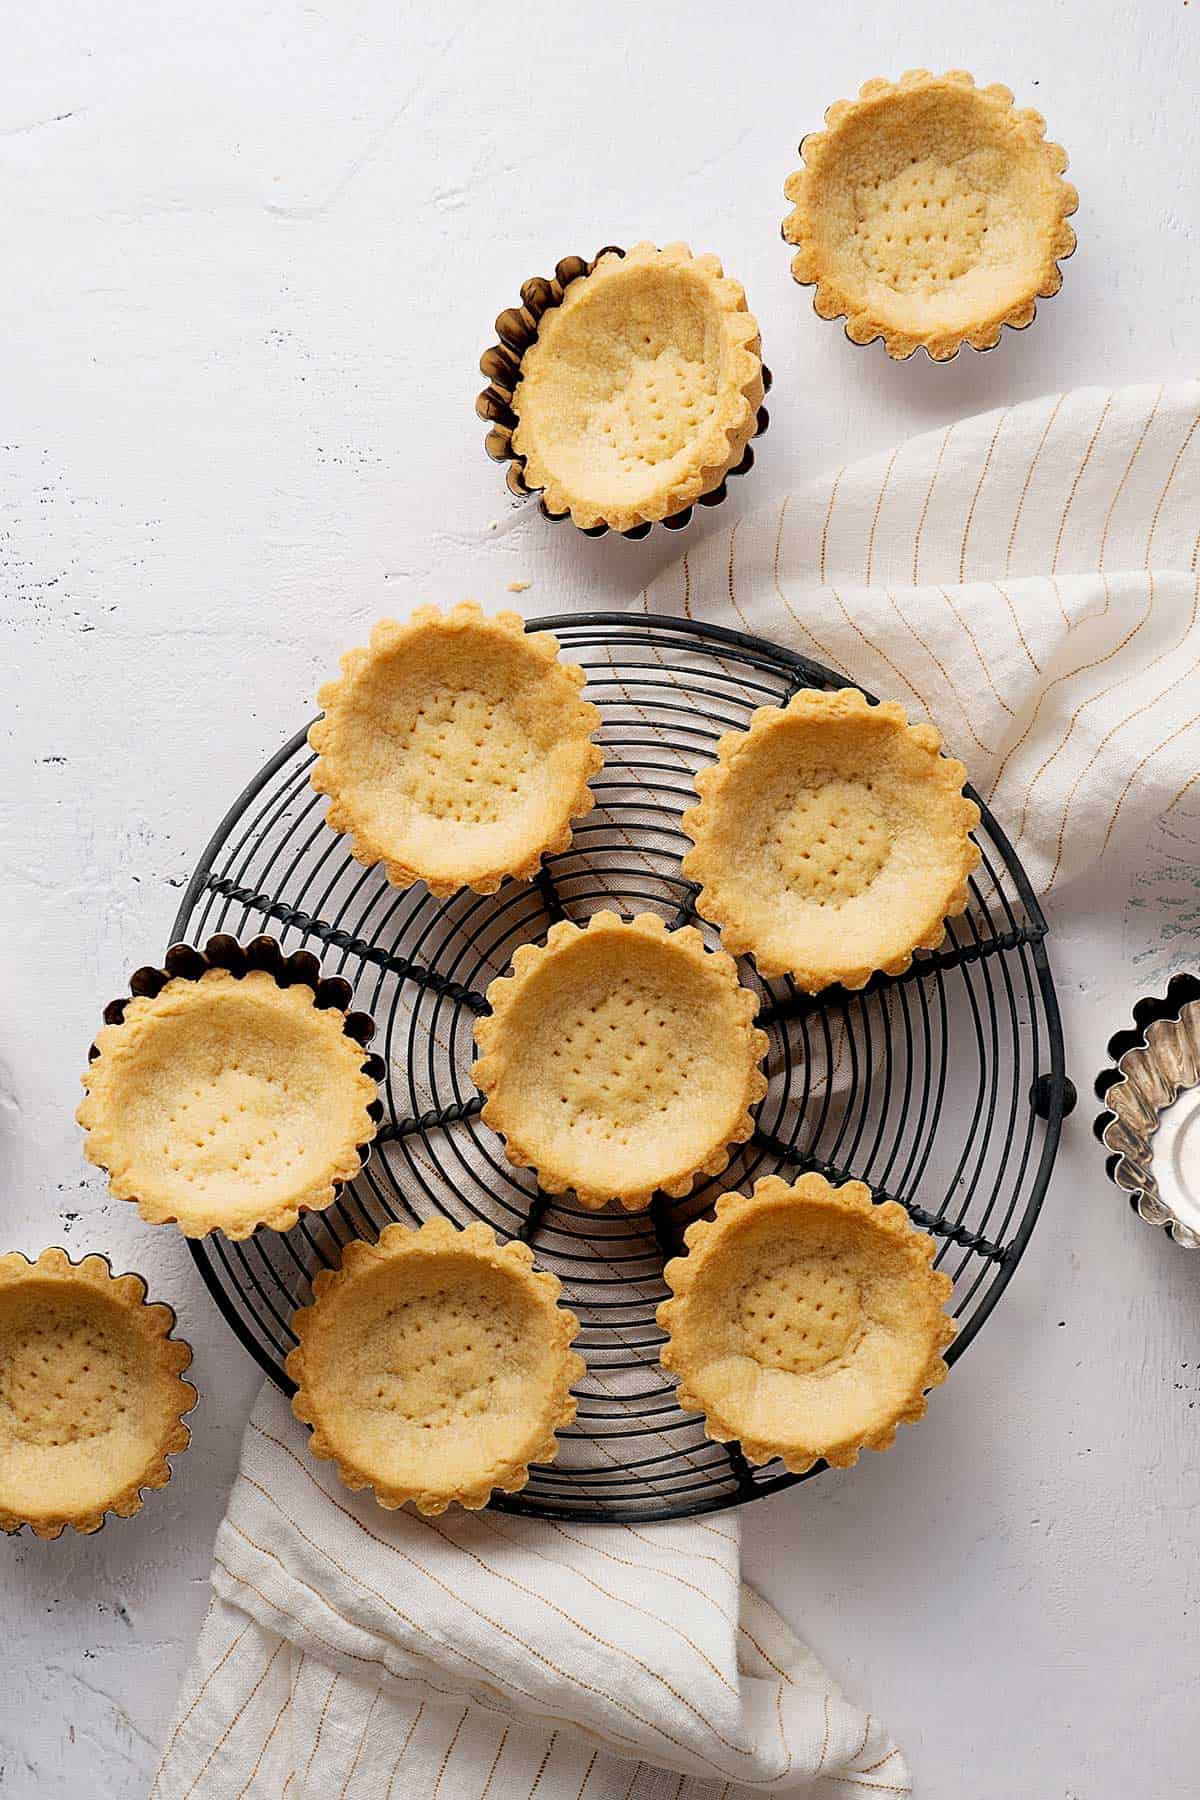
Sometimes when I don't have time I make the tart shells a day or two before I fill them. It's totally fine. I store them in an airtight container, at room temperature.
If I need them beyond 2 days then I usually freeze them. What I do is remove the shells from the moulds and place them on a baking tray lined with parchment paper, not touching each other. I pop them in the freezer for 1-2 hours until they're frozen. Then I place them in a Ziploc bag and back in the freezer.
To use, thaw them at room temperature. I like to pop them in the oven at 350ºF (175ºC) for 3-4 minutes to bring them back to life.
I rather store them baked because personally for me it's easier. Having a stash of already made tart shells is always more accessible and handy.
You can also freeze the dough, tightly wrapped, for up to 6 months.
How To Use Them?
Oh.. in so many ways!
I've used the shells tarts with my mini salted chocolate tarts, Hokkaido cheese tarts and strawberry cheese tarts. Those are recipes where I bake the shells separately and then fill them.
I've also used this recipe for my Hong Kong-style coconut tarts and dulce de leche coconut tarts. I bake the shells together with the filling.
And I also made goat cheese with caramelised onion, smoked salmon chives and cream cheese tarts using them. Oh yum!
So as you can see, this recipe is very versatile. Give them a try and let me know your favourite filling!
Recipe Video
📖 Recipe
How To Make Tart Shells
Equipment
Ingredients
Sweet Tart Shells
- ⅓ cup unsalted butter (75 g), softened
- 2 tablespoon sugar
- 1 egg yolk , room temperature
- 1 teaspoon vanilla extract
- 1 cup all purpose flour (130 g)
Switch Them To Savoury Tart Shells
- 1 teaspoon sugar
- ½ teaspoon salt
Instructions
- Add butter and sugar into a bowl. Using a spatula, mix everything together. Now add in egg yolk and vanilla extract. Continue mixing. Finally add in flour and bring everything together into a dough.
- Cover with cling film and chill in the fridge for 30 minutes or until it's manageable.
- Take a piece of dough and press it evenly into a 2.5 inch (6.5 cm) tart mould. Cut off excess dough with a knife. Using a fork, prick the base so that it doesn't puff up while baking. Repeat the same with the rest of the dough. Place them on a baking tray. Place them in the freezer for 10 minutes.
- Bake in a preheated oven at 340ºF (170ºC) , using upper and lower heat, on the lowest rack for 20 minutes. Remove from the oven and leave to cool completely. Once cooled, remove the shells from the moulds by flipping them and tapping a bit on the back of the back of the base to help releasing them. They're ready to be used!
Switch Them To Savoury Tarts
- Instead of 2 tablespoon sugar, add 1 teaspoon sugar and ½ teaspoon salt together with butter. Follow the same steps onwards for the rest of the recipe.
Notes
- Use spoon and level method when measuring the flour (for cup measurement)
- Use portable oven thermometer (like this one) for a more precise temperature reading (I use it too)
- Refer to my post above for ingredients notes and tips
Nutrition Facts
The nutrition facts provided are an estimate per serving. Accuracy is not guaranteed.






Sudipta Gupta says
Hi! These turned out really well. I made lemon tarts with these. Do you have a recipe for tart shells with cocoa powder?
Meridith Lafrenz says
Easy and tasty, thank you!
Bea & Marco says
Yay! Happy to hear that, thanks you, Meridith!
Savannah says
This was so good! It was easy to make and delicious. It was so good that I made it, tried one, and made it again! I topped it with strawberries and glazed it. Would definitely make for a third time ❤️
Bea & Marco says
Yay! That's so awesome to hear! We're glad that you loved them, thank you, Savannah ❤️!
Monica says
How many pieces did you do?
Bea & Marco says
This recipe makes 9 tart shells. Hope it helps!
Nandini says
This will be my go to recipe... Loved it how the tarts turned out...
Was my first time making tart and your recipe made it very easy and achievable 💜.
Bea & Marco says
Yay, we're happy to hear that, Nandini! Thanks for your comment. Sorry for the late reply. We had to move house on short notice, but we are now slowly getting back to work!
Lisa says
Flakey, tender and delicious. A perfect tart shell.
Nobody says
Lovely recipe, used a tablespoon of cream to make it vegetarian
Sara Faraz says
Wow what a detailed and a beautiful Recipie I will definitely try 💕💕
Rita Shabazz says
Hi Made tour tart pastry shell they ture out perfect I filled them some lemon curb
Bea & Marco says
Yay! I'm happy to hear that, thanks, Rita!
Katrina says
Tarts always turn out ok have frozen them ok never frozen pre baked dough hope it's ok always make them all the time