
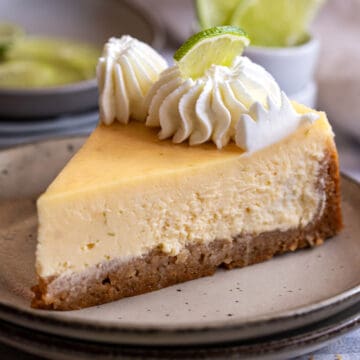
If baked cheesecakes make you nervous, this key lime cheesecake recipe is a lovely one to start with. It bakes without a water bath, but still gives you a smooth, creamy filling with no cracks, a buttery crust, and bright, tangy lime flavor in every chilled slice. It's the kind of dessert that looks beautiful on the table, but feels absolutely doable from the moment you start.
📮 Save this recipe for later!
Jump to:
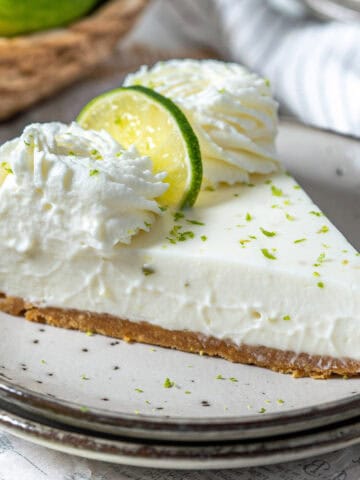
Marco loves anything citrusy, especially in dessert form, so this cheesecake was only a matter of time. His favorite No-Bake Key Lime Pie is always a hit at our family gatherings, and we kept thinking how lovely it would be to turn those same bright, tangy flavors into a creamy baked cheesecake!
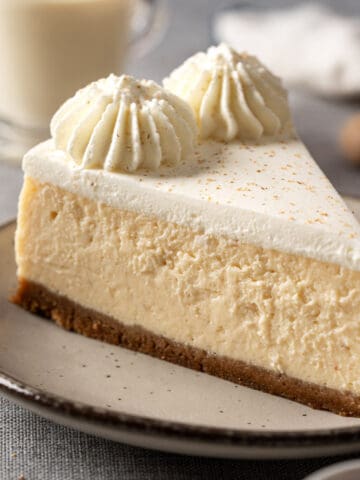
We based this key lime cheesecake on our Eggnog Cheesecake recipe, using the same no-water-bath approach that makes all of our baked cheesecakes feel so much easier and more doable.
After the first test, we made a few small tweaks and shared the cheesecake with our camping neighbors. They loved it so much that they were already asking for the recipe while it was still technically in testing, which is always a very good sign!
Why this recipe works
This key lime cheesecake is made to feel simple, no hassles, and very doable, even if baked cheesecakes usually make you nervous.
No water bath: No foil wrapping, roasting pan, or worrying about water leaking into the crust. Unlike many key lime cheesecake recipes that use a water bath, this one keeps the process simpler without losing that creamy texture!
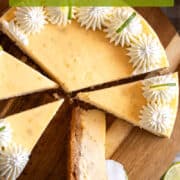
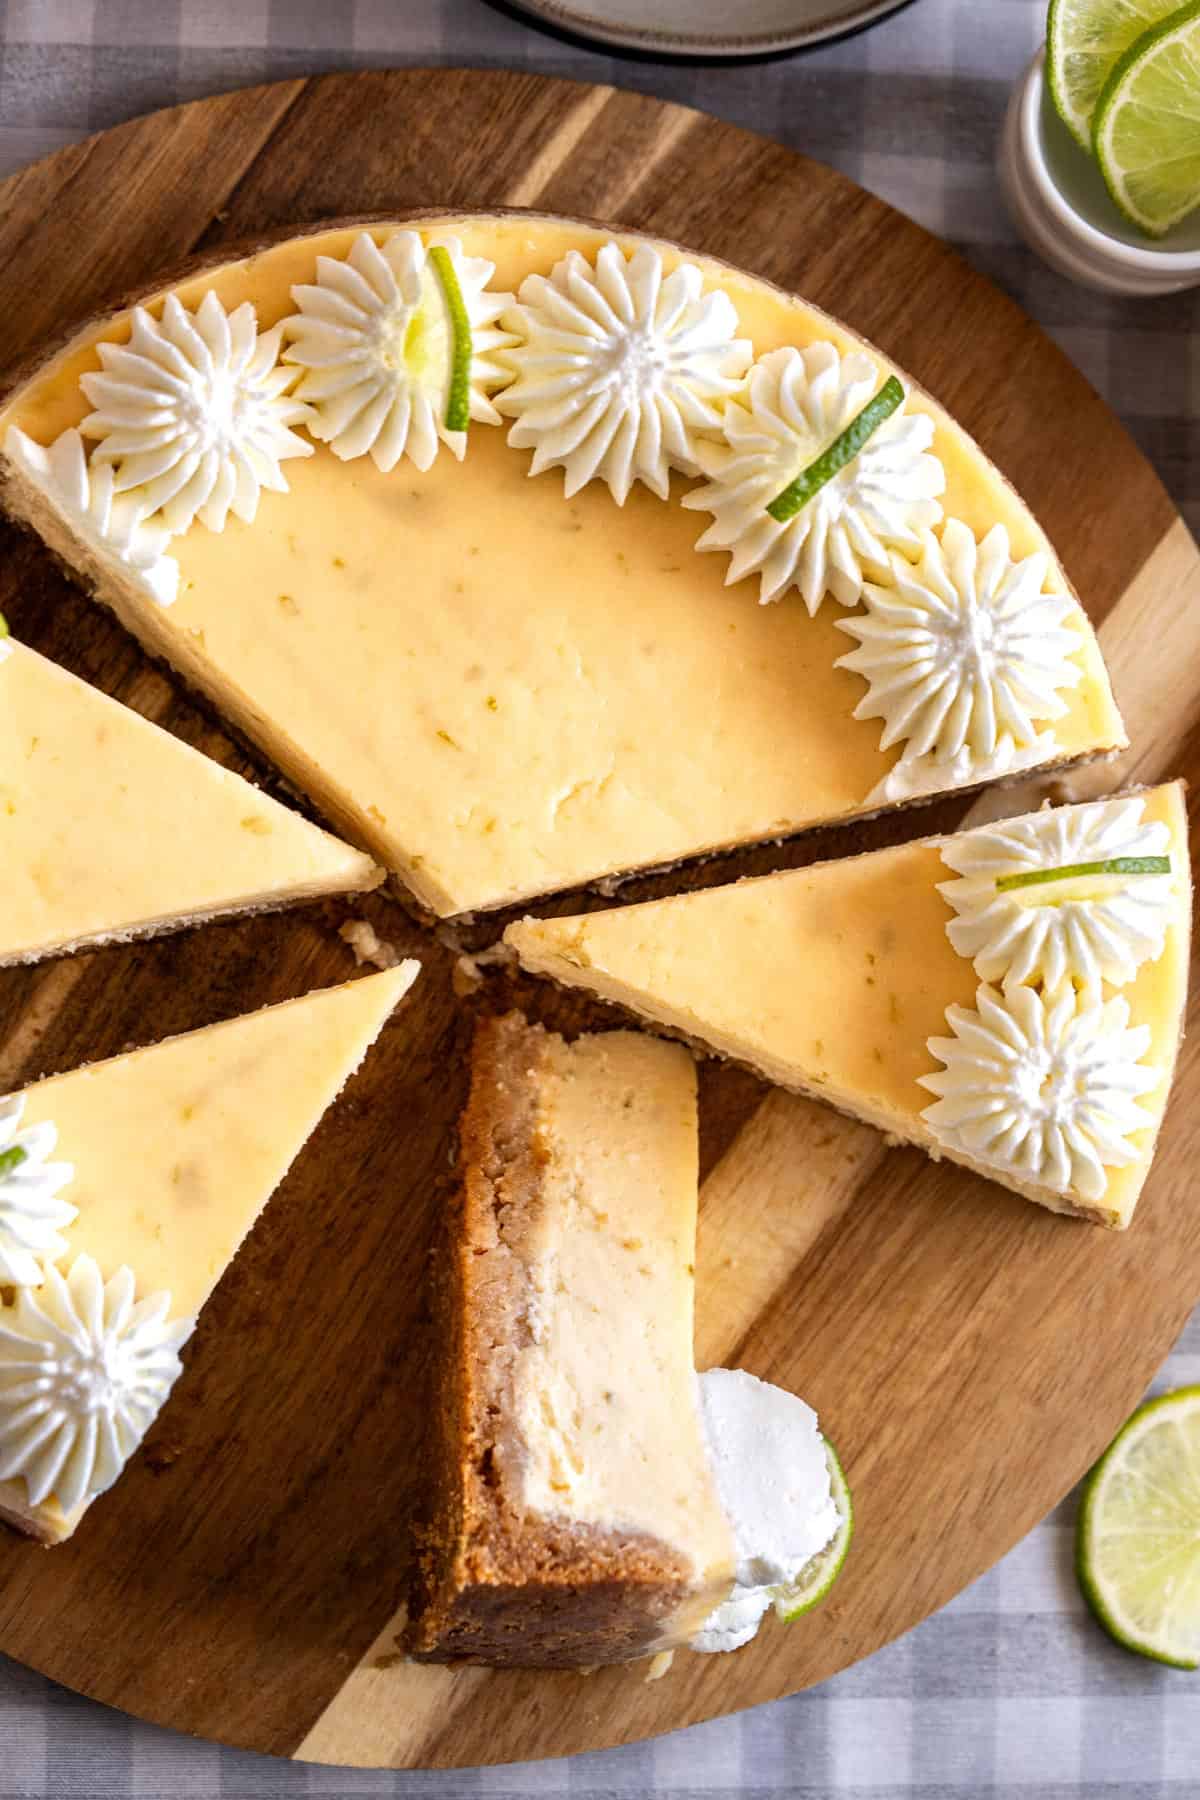
Impressive but doable: It looks fancy when sliced, but the process is straightforward. Most of the work is simply making the crust, mixing the filling, baking, and letting it chill.
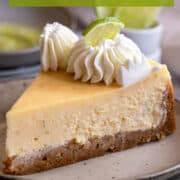
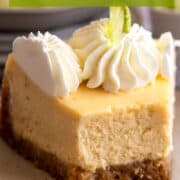
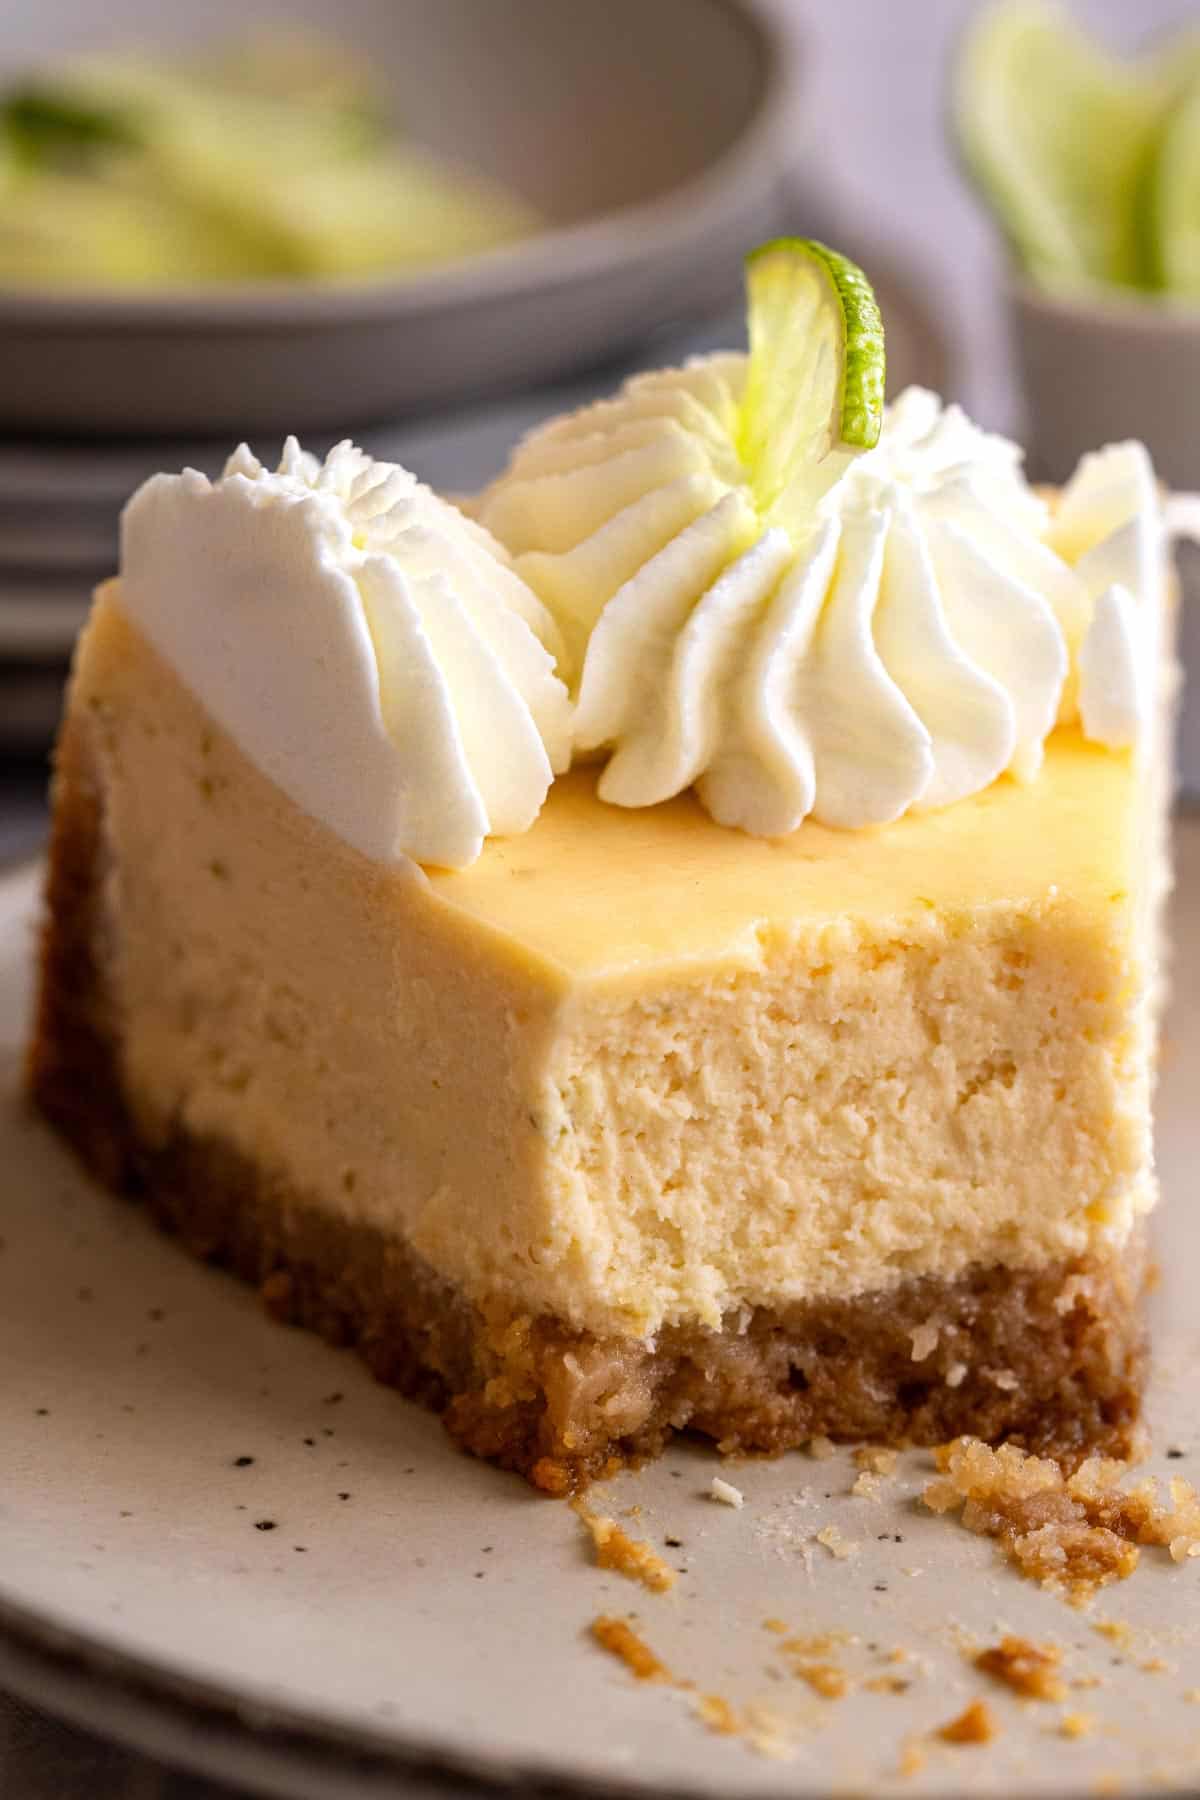
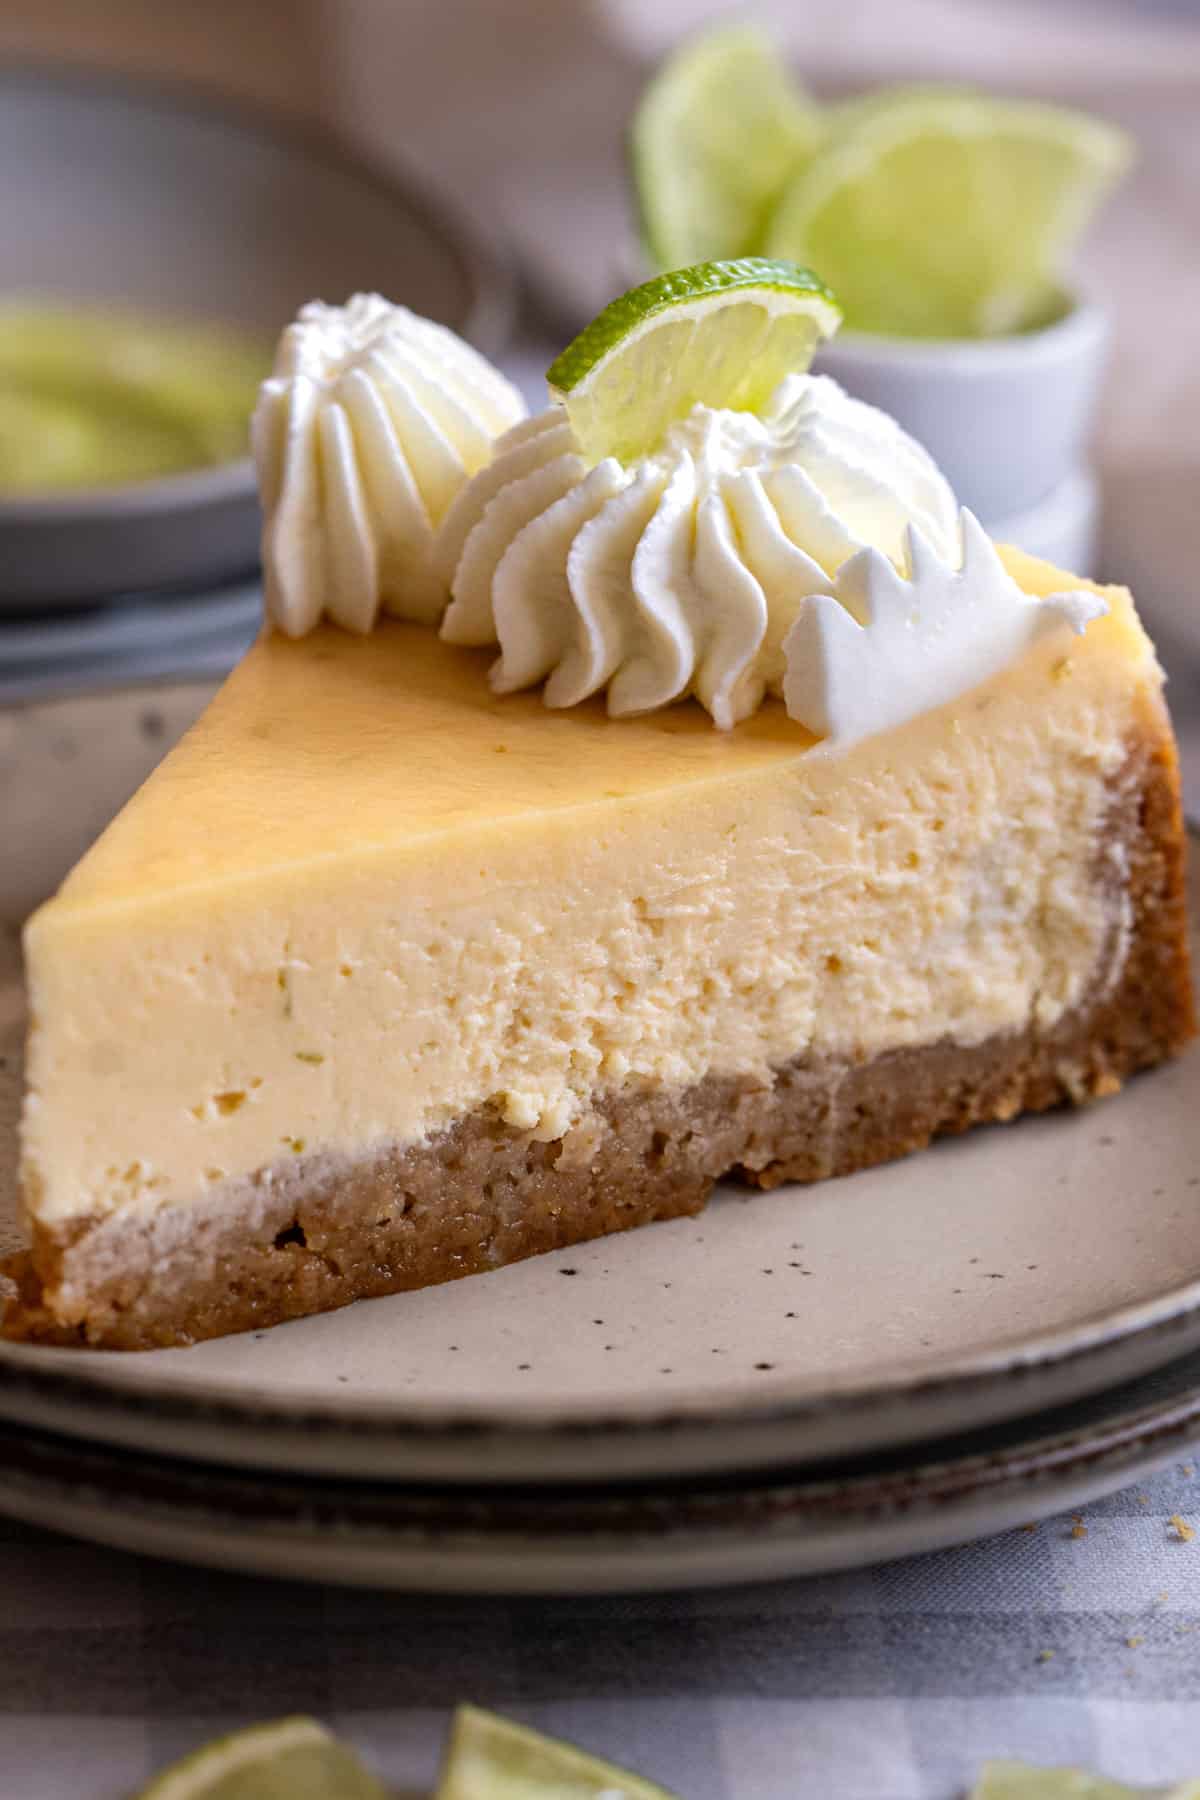
Bright and creamy: The lime flavor keeps the cheesecake fresh and tangy, while the filling stays rich and smooth. It has that key lime pie cheesecake feeling, but in a creamier baked version.
Make-ahead friendly: This cheesecake needs time to chill, which actually makes life easier. Make it the day before, then serve it cold and beautiful when you're ready.
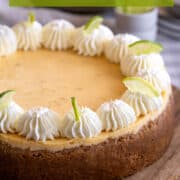
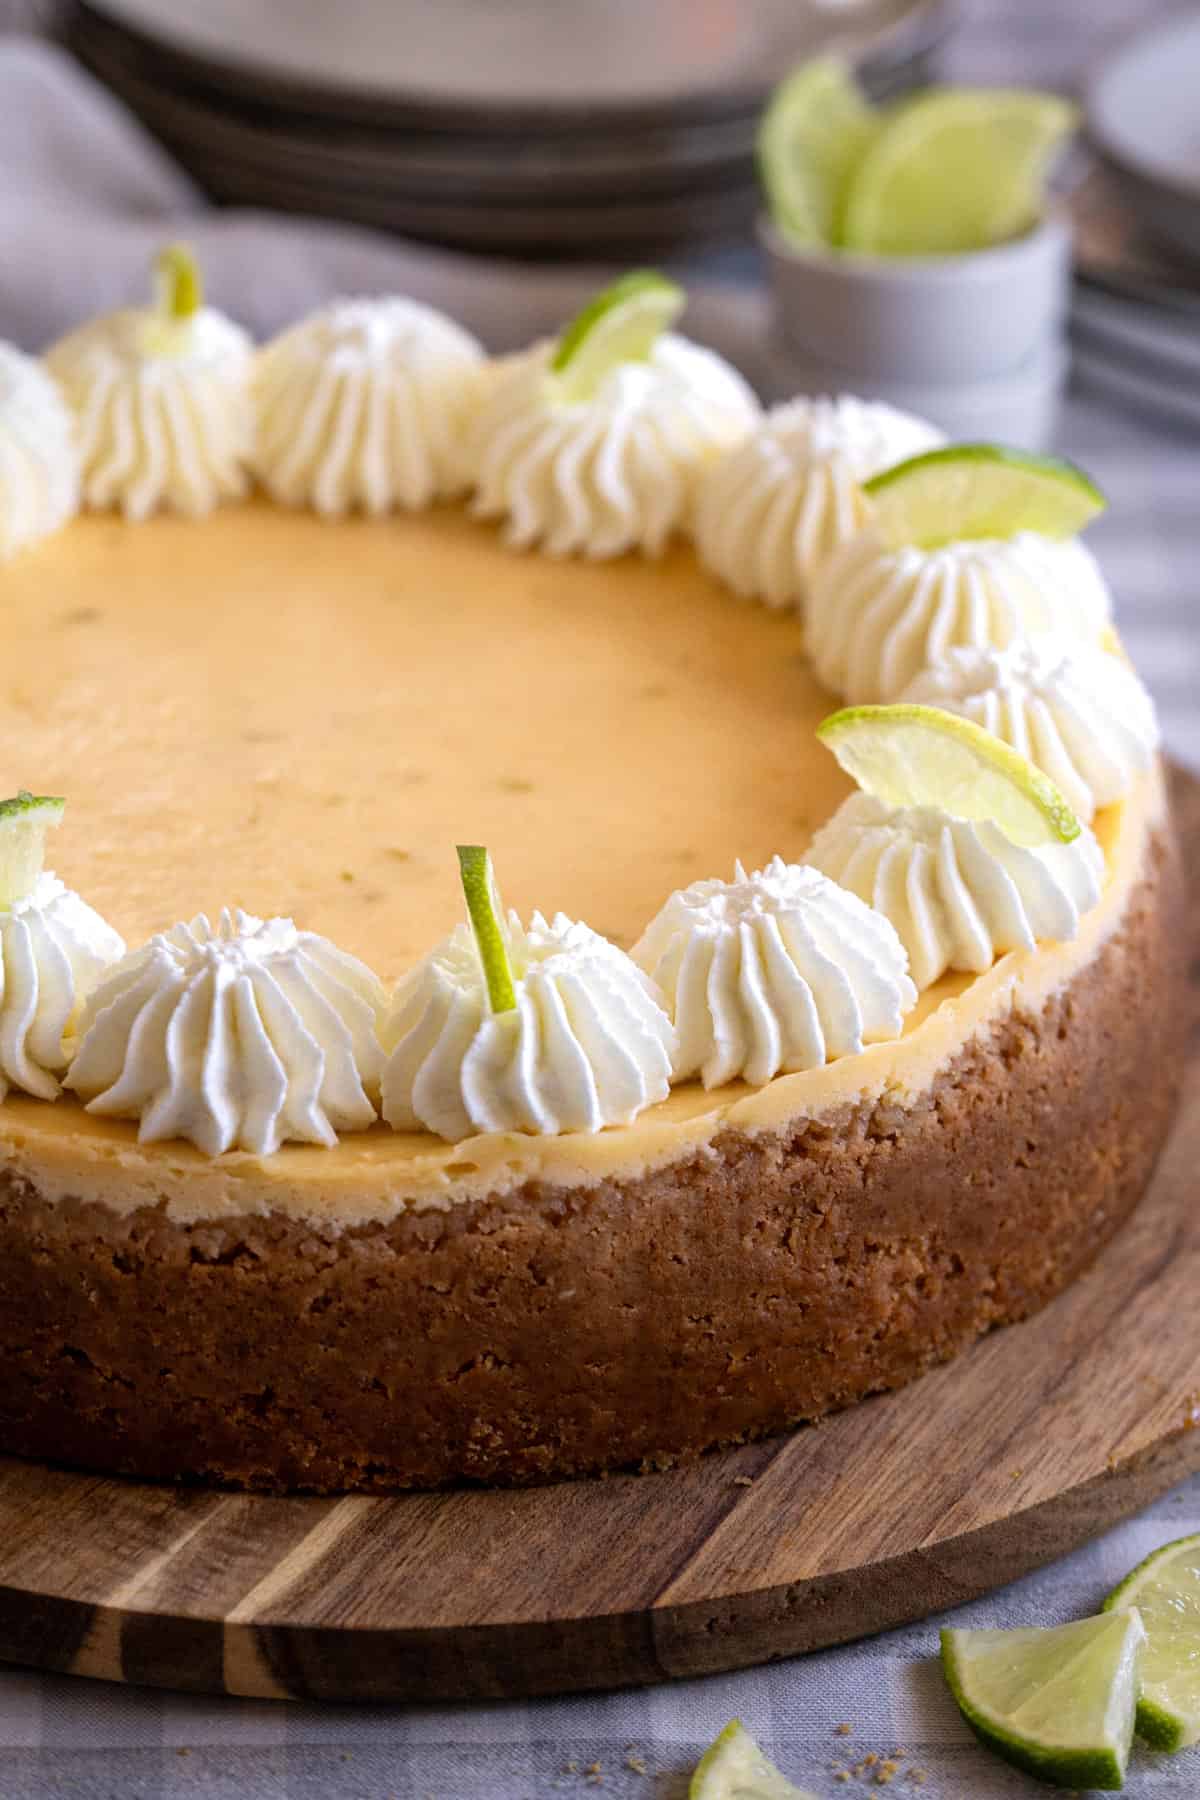
Smooth, crack-free finish: The simple baking and cooling method helps the top stay smooth, so it looks lovely on the table without needing to hide the whole top with whipped cream .
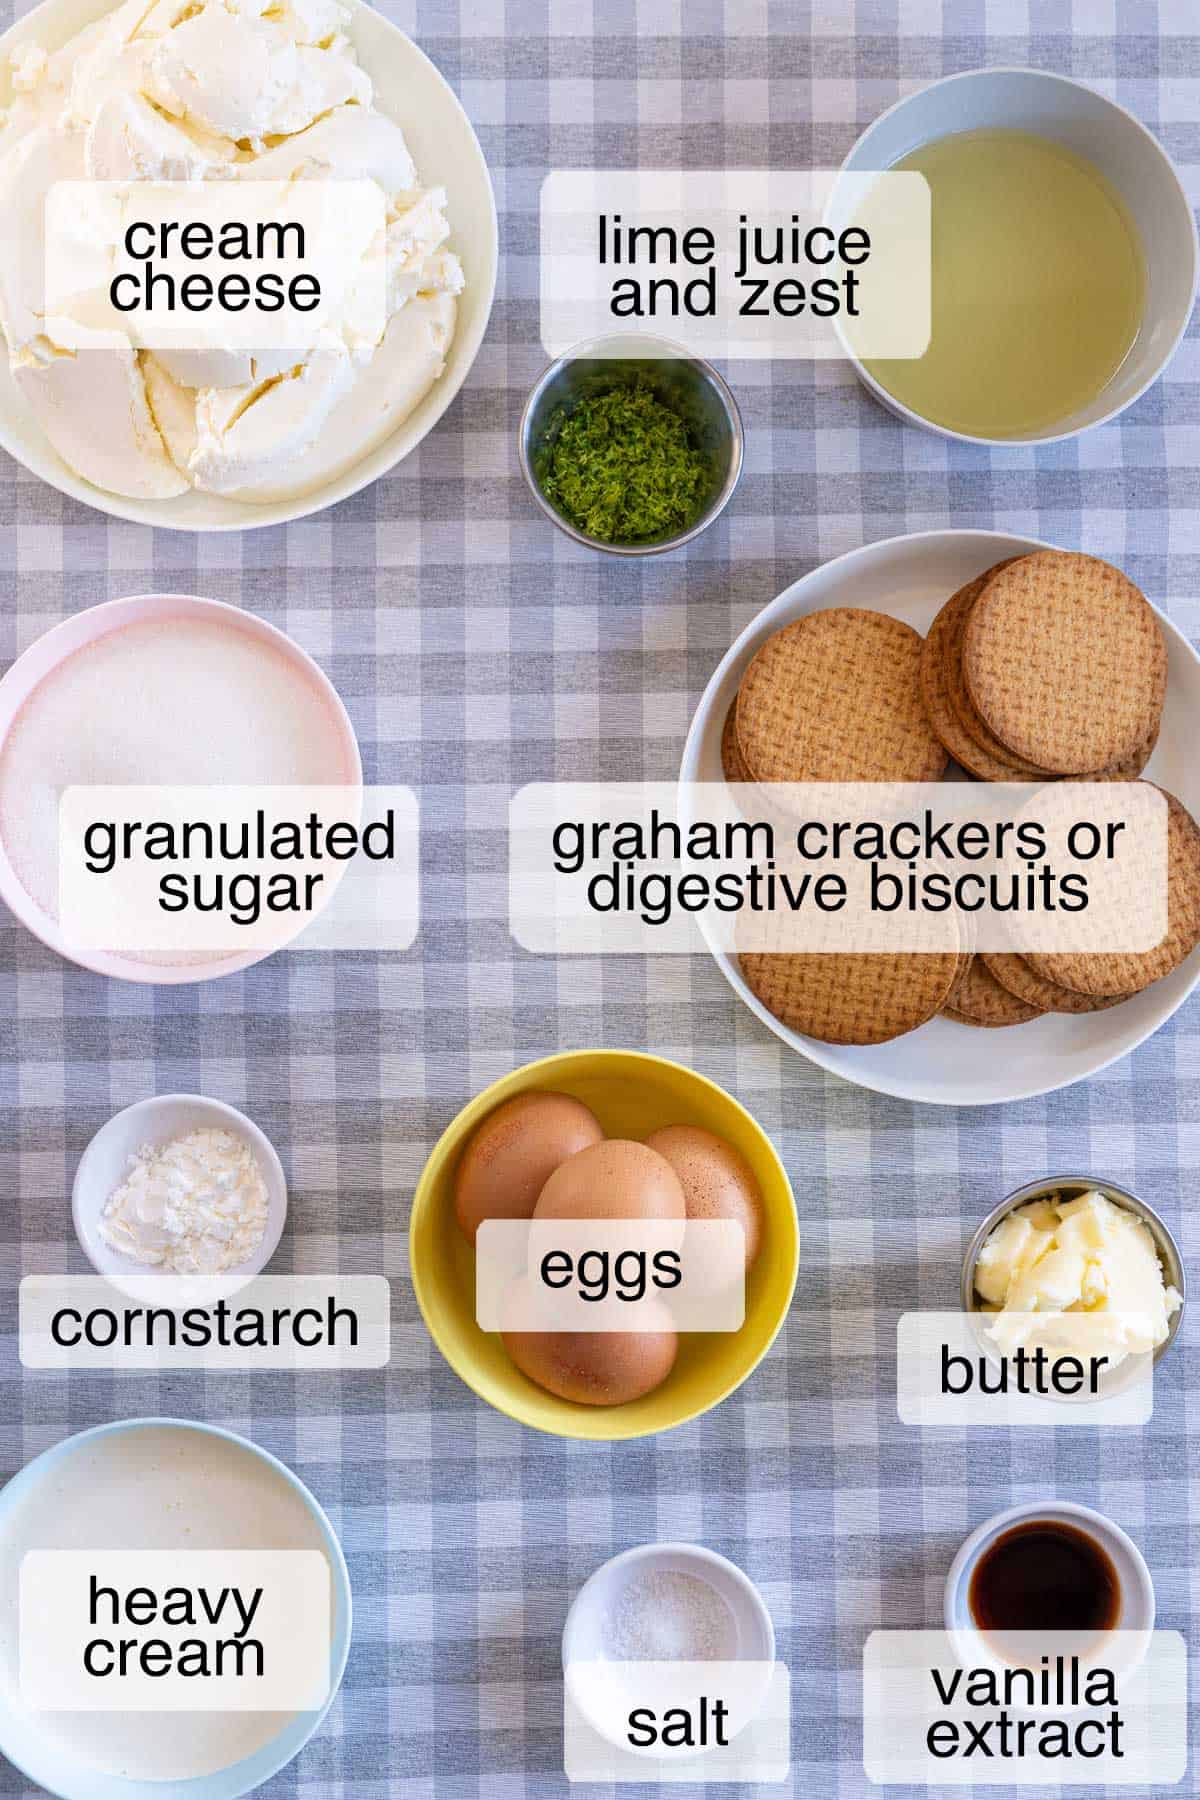
Ingredients you'll need
You only need simple ingredients for this key lime cheesecake, and most of them are easy to find. Since fresh key limes are not always available, we use regular limes here, and they still give the cheesecake a bright, fresh, tangy flavor.
Key ingredient notes:
Crust
Graham cracker crumbs or digestive biscuit crumbs: This makes the buttery base. Use whichever is easier to find; both give a sweet, sturdy base that goes beautifully with the lime filling.
Filling
Full-fat cream cheese: Use brick-style full-fat cream cheese for the creamiest, smoothest filling. The spreadable kind in tubs is usually softer and can make the cheesecake less stable.
Fresh lime juice: We use regular limes because they're easier to find and juice, and they still give this cheesecake a bright, tangy flavor. Fresh juice tastes cleaner than bottled, especially when paired with lime zest.
Lime zest: Zest gives a strong fresh lime flavor without adding extra liquid. Rubbing it into the sugar helps release the oils, which makes the filling taste brighter.
Cornstarch: Just a little helps the cheesecake set smoothly and gives extra support, especially since we're baking it without a water bath.
Eggs: They help the filling set into that creamy cheesecake texture.
Heavy cream: Use heavy cream with at least 35% fat. It keeps the filling rich, smooth, and creamy.
You'll find all the exact measurements in the recipe card below.
Substitutions and variations
This key lime cheesecake recipe is flexible, so don't worry if you can't find every "perfect" ingredient. The main goal is a creamy filling, bright lime flavor, and a crust that holds together well.
Key limes or regular limes: We use regular limes because they're easier to find, easier to juice, and still give the cheesecake a fresh, tangy flavor. Key limes will give a slightly more floral, sharper flavor, so use them if you have them.
Bottled key lime juice: You can use bottled key lime juice if fresh limes are hard to find, but fresh lime juice gives a brighter flavor. If using bottled juice, we still recommend adding fresh lime zest so the cheesecake tastes fresh, not flat.
Sour cream or heavy cream: You can use either one here with no problems. Sour cream gives the filling a slightly tangier flavor, while heavy cream makes it a little smoother and richer. Use whichever is easier for you to find.
Watch the video recipe
Watch the video to see how easily this key lime cheesecake comes together, from pressing the crust to mixing the filling and decorating the chilled cheesecake. You'll also see the jiggle test, which is the best way to know when the cheesecake is done baking without overbaking it!
Step-by-step instructions
Here's a quick look at how this key lime cheesecake comes together. The full measurements and exact oven times are in the recipe card below.
Crust
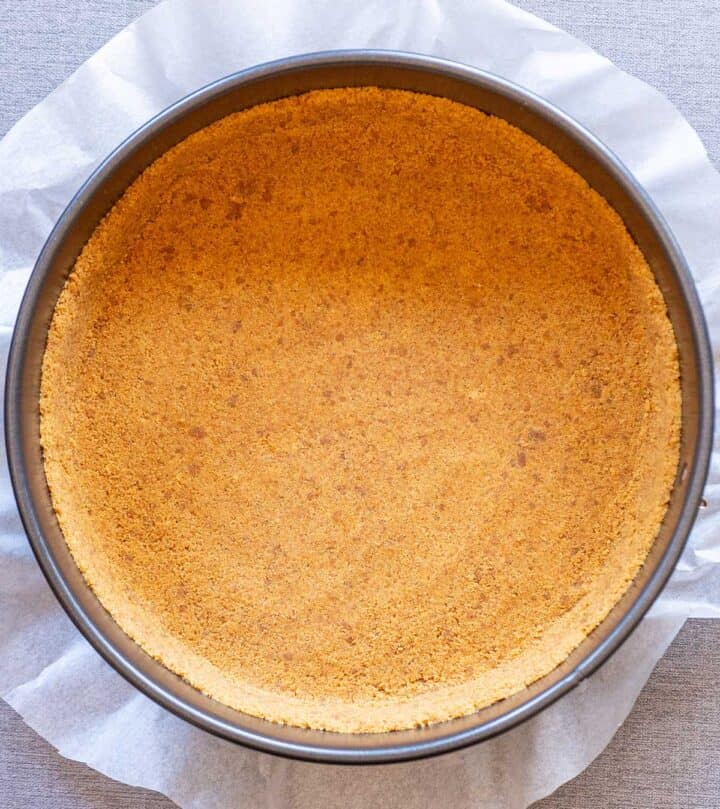
Mix and press
Combine the crumbs with melted butter until the mixture looks like damp sand. Press firmly into the bottom of a 9-inch springform pan and slightly up the sides. Bake for 8 to 10 minutes. Cool before adding the filling.
Filling
Bring out the lime flavor
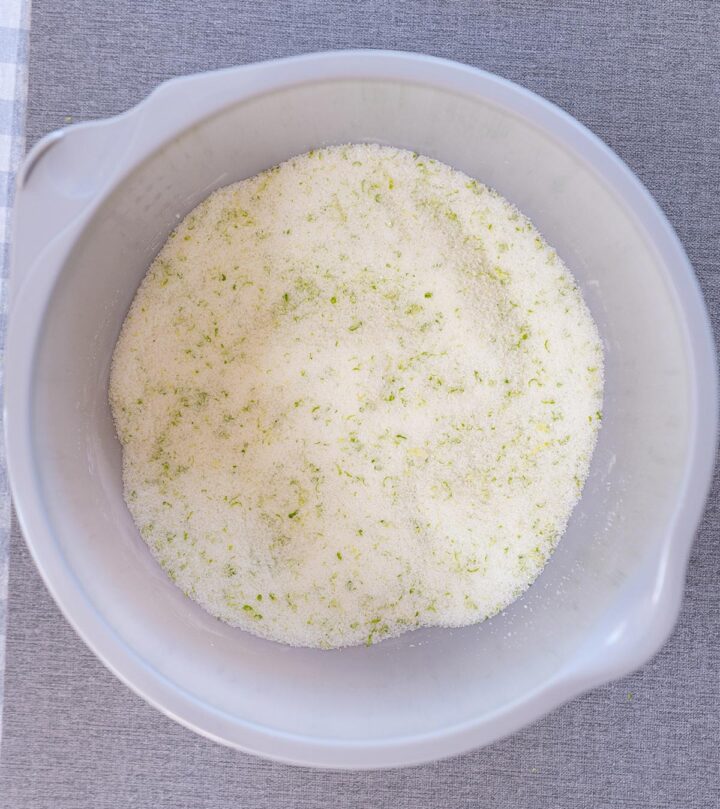
Rub the lime zest into the sugar with your fingertips until fragrant. Mix in cornstarch and salt.
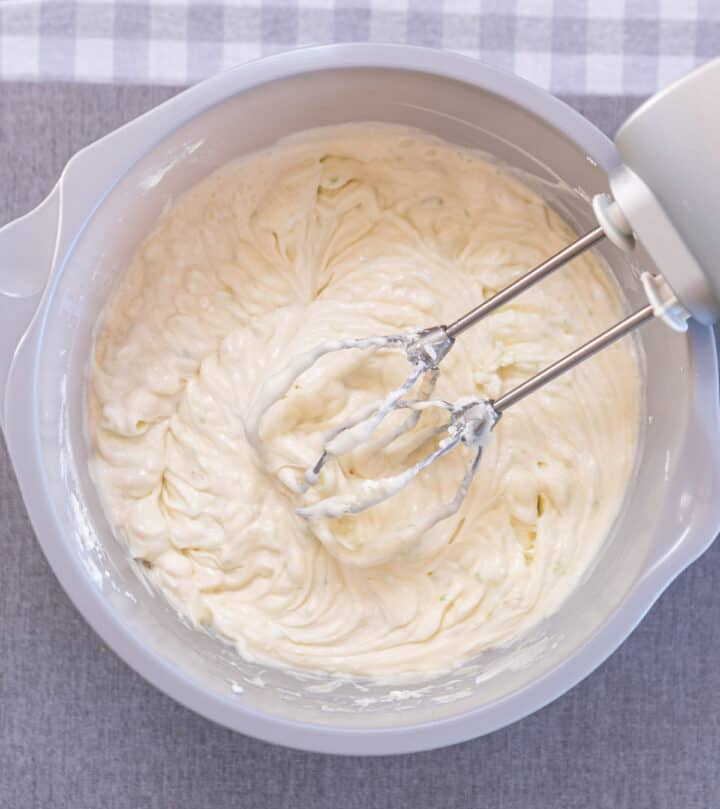
Make the cream cheese filling
Add in the cream cheese and beat briefly. Mix in heavy cream, lime juice, and vanilla just until combined.
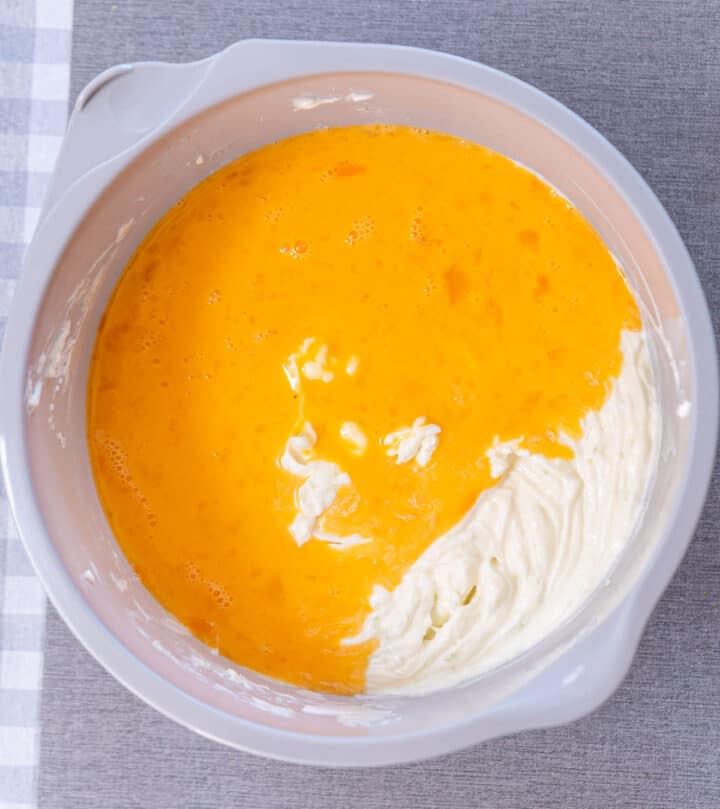
Fold in eggs
Lightly beat the eggs first, then add them to the batter. Fold gently, just until smooth without adding too much air in.
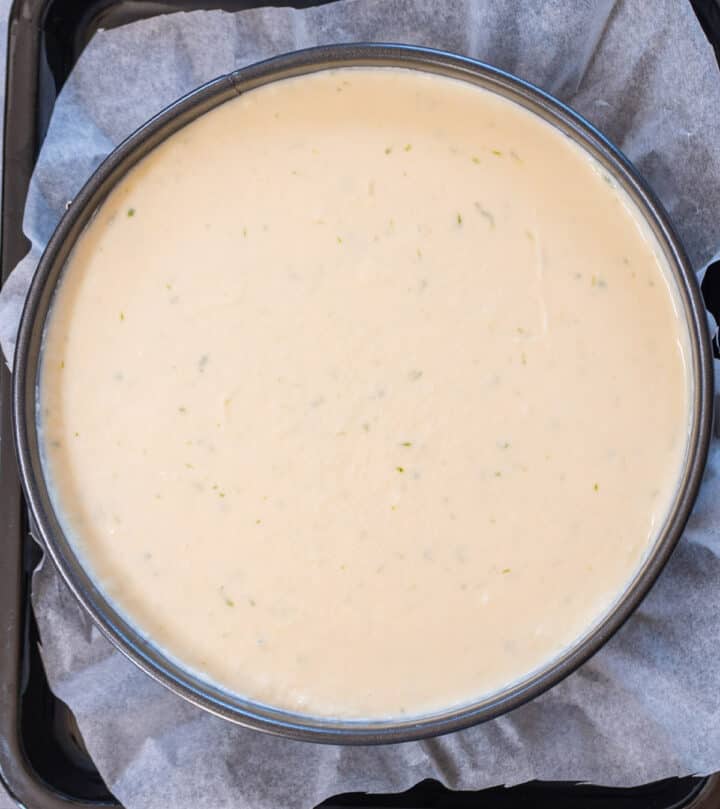
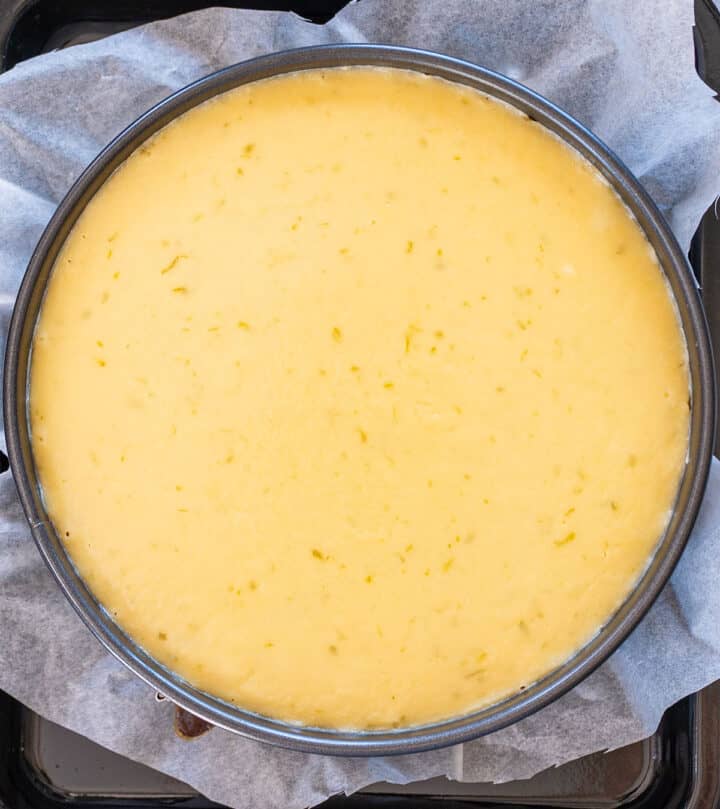
Bake without water bath
Pour the filling into the chilled crust and smooth the top. Bake without a water bath until the edges are set and the center still has a soft, jelly-like wobble.
Chill and serve
Cool
Let the cheesecake cool completely at room temperature, then chill it for at least 8 hours, preferably overnight.
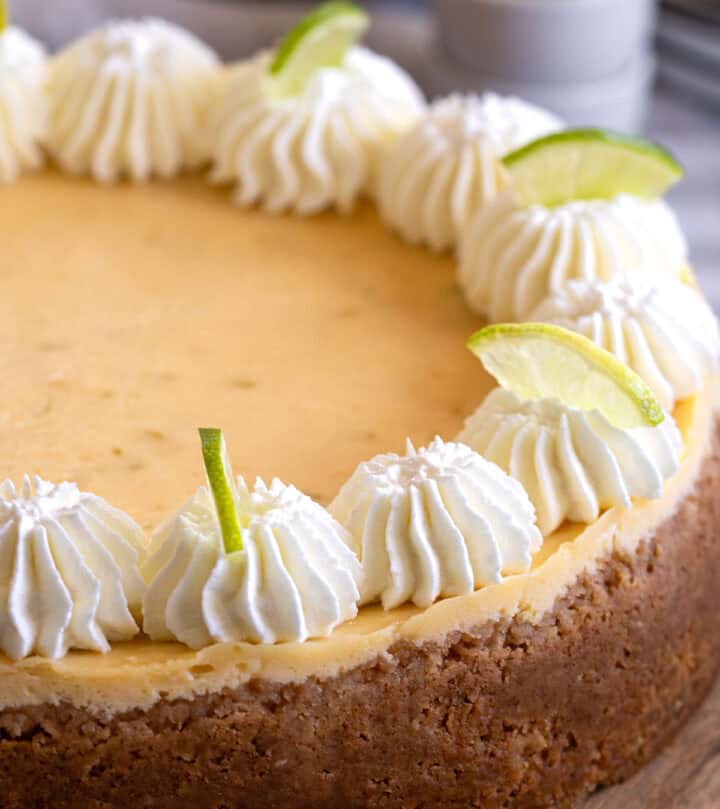
Serve
Optional: Top with whipped cream, thin lime slices, and a little fresh lime zest right before serving. Serve chilled.
Our best tips
A few small habits make a big difference with this key lime cheesecake. Follow these and we promise you'll get a smooth, creamy texture without using a water bath!
- Start with room-temperature ingredients: Cold cream cheese, eggs, or heavy cream can make the batter lumpy instead of smooth.
- Discard any liquid from the cream cheese: Sometimes cream cheese releases liquid as it softens. Pour it away before mixing so the filling stays thick and creamy.
- Rub the lime zest into the sugar: This brings out the lime oils and gives the filling a brighter, fresher flavor.
- Mix on low speed: Overmixing adds too much air, which can make the cheesecake rise, fall, and crack.
- Add the eggs gently: Lightly beat the eggs first, then mix them in just until combined. No frothy eggs, please. This helps prevent cracks.
- Bake low and slow: Gentle heat helps the cheesecake bake evenly with no water bath, helping you get a creamy filling and smooth top with no cracks.
- Trust the wobble: The edges should look set, and the center should wobble softly like jelly. If it sloshes, it needs more time.
- Cool gradually: Let the cheesecake cool slowly before chilling. Sudden temperature changes can make the top crack.
- Chill overnight: At least 8 hours is needed, but overnight gives the creamiest texture and cleanest slices!
How to fix common baked key lime cheesecake problems
Most cheesecake issues are easy to avoid, and even easier to cover up if they happen. Here's what to look for so your key lime cheesecake still serves beautifully and how to fix it next time.
- Cracked top: Usually caused by overmixing, overbaking, or cooling too fast. Cover it with whipped cream for now, and next time mix gently, bake until just wobbly, and cool slowly.
- Runny center: If the center sloshes while baking, it needs more time. If it is still runny after chilling overnight, it was underbaked. Serve very cold or semi-frozen, and bake it longer next time.
- Lumpy filling: The cream cheese was likely too cold. Use room-temperature cream cheese, discard any liquid, and beat until smooth before adding the eggs.
- Top browning too much: The oven may be too hot or the pan too close to the heat. Tent loosely with foil or move it to a lower rack.
- Too tart: Serve with whipped cream to soften the lime flavor. Next time, use slightly less lime juice.
- Not tangy enough: Add fresh lime zest before serving for a brighter lime cheesecake flavor without changing the texture.
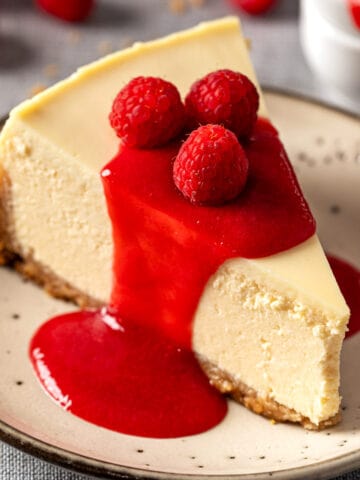
If you want more no-water-bath cheesecake tips, my Perfect New York Cheesecake uses a similar method for a smooth, crack-free result!
How to serve, store, freeze, and make ahead
Serve
- For the creamiest texture, bring it to room temperature for 15-30 minutes before slicing.
- Heat the knife in hot water and wipe between slices for the cleanest cut.
- Add the whipped cream, lime slices, and fresh lime zest right before serving.
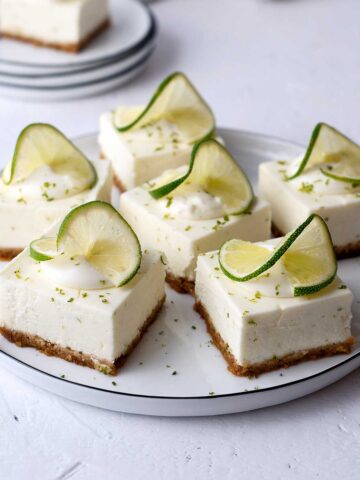
- If you love creamy lime desserts, our No-Bake Lime Cheesecake Bars are another fresh option for gatherings.
Store
- Store leftovers covered in the fridge for up to 5 days.
- Keep it in an airtight container, or cover the pan well so the cheesecake stays fresh.
Freezer
- Freeze the cheesecake without the whipped cream topping or lime garnish.
- Slice it first, then wrap each piece tightly in cling film and place in a freezer-safe container or bag for up to 2 months.
- Thaw the slices overnight in the fridge.
- Add whipped cream and garnish after thawing, right before serving.
Make ahead
- This cheesecake is perfect for making ahead because it needs at least 8 hours to chill.
- Make it up to 2 days ahead for the best texture, then decorate it the day you plan to serve.
- You can also browse our Baked Cheesecake Recipes for more no-water-bath cheesecake ideas.
Frequently asked questions
Yes, this key lime cheesecake is baked without a water bath. It uses low heat, gentle mixing, and slow cooling to help the filling set smoothly without the extra hassles of foil wrapping or a roasting pan.
Mix gently in each stage, bake until the center still has a soft wobble, and cool the cheesecake slowly. These small steps help prevent too much air, overbaking, and sudden temperature changes, which are the main reasons cheesecakes crack.
The cheesecake is done when the outer edge looks set and the center still wobbles softly like jelly. It should move gently in the middle, but it should not slosh like liquid.
Yes, regular limes work beautifully in this recipe and are much easier to find and juice. Bottled key lime juice also works if that's what you have, but we recommend adding fresh lime zest so the flavor still tastes bright and fresh.
Yes, this cheesecake is perfect for making ahead because it needs at least 8 hours to chill, preferably overnight. Make it up to 2 days ahead, keep it covered in the fridge, and decorate it right before serving.
I know baked cheesecake can feel like one of those desserts that asks a lot, but this key lime cheesecake is much more forgiving than it looks. No water bath, no complicated steps, and no need to hold your breath while it bakes!
Give it time to chill, decorate it simply, and you'll have a creamy, bright, beautiful cheesecake that looks like you fussed over it for hours. It's special enough to serve to guests, but doable enough that you can actually enjoy making it too!
Did you try this Key Lime Cheesecake?
We'd love to hear from you! Please leave us a ★★★★★ rating and share your thoughts in the comments. If you post on Instagram, tag us, we'd love to see it!
Thank you! - Bea and Marco
📖 Recipe
Key Lime Cheesecake Recipe (No-Water Bath)
Video
Equipment
Ingredients
Crust
- 2 cup (200 g) crushed cookies (like graham crackers or Digestive for Europeans)
- ¼ cup (60 g) unsalted butter melted
Filling
- 1¼ cup (250 g) granulated sugar
- 1 tablespoon finely grated lime zest from about 2 to 3 regular limes
- 1 tablespoon cornstarch
- ⅛ teaspoon salt
- 24 oz (675 g) full-fat cream cheese (3 blocks) room temperature
- ½ cup (125 ml) fresh lime juice from about 4 to 5 regular limes
- 1 cup (250 ml) heavy cream room temperature
- 1 teaspoon vanilla extract
- 4 large eggs room temperature
Topping (optional)
- 1 cup (250 ml) cold heavy cream
- ¼ cup (30 g) powdered sugar
- ½ teaspoon vanilla extract
Instructions
- Flip the base of a 9-inch (23 cm) springform pan upside down (this helps with easy sliding onto a serving plate later). Line the base with parchment paper, then lock it into place. Set aside.
- Preheat the oven to 350°F (175°C), no fan. Place the rack to lower ⅔.
Crust
- Mix the crushed cookies and melted butter until evenly coated.👉 Tip: the crumb mixture should look like wet sand. If it still looks dry, add 1 tablespoon more melted butter at a time until it holds together well.2 cup crushed cookies (like graham crackers or Digestive for Europeans), ¼ cup unsalted butter
- Press the crumb mixture firmly into the bottom of the pan and about ½ inch (1.25 cm) up the sides, keeping the crust thin and even. Bake at 350ºF (175°C) on the lower ⅔ rack for 8 to 10 minutes, until lightly set and fragrant. Cool before using.
- Lower oven temperature to 265°F (130°C).
Filling
- In a big bowl, rub the sugar and lime zest together with your fingertips until fragrant. Stir in the cornstarch and salt.1¼ cup granulated sugar, 1 tablespoon finely grated lime zest, 1 tablespoon cornstarch, ⅛ teaspoon salt
- Into the same bowl, add and briefly beat the cream cheese on low speed just until smooth, about 30-40 seconds,, scraping the bowl as needed.24 oz full-fat cream cheese (3 blocks)
- Mix in lime juice, heavy cream, and vanilla extract.½ cup fresh lime juice, 1 cup heavy cream, 1 teaspoon vanilla extract
- In another bowl, whisk the eggs gently just until blended.👉 Cue: no bubbles, no froth; you don't want air in the eggs.4 large eggs
- Pour eggs into the cream cheese mixture. Fold slowly with a spatula until combined.
Bake and chill
- Pour filling into prepared crust. Tap pan gently to release any air bubbles. Bake for about 1 hour 40-50 minutes until the outer 3 cm (about 1 inch) of the cheesecake looks set and slightly matte, while the center 5-6 cm (about 2 inches) still wobbles like soft Jell-O.
- Turn off the oven. Crack the door open slightly about 2 inches / 5 cm and leave the cheesecake inside for 15 to 20 minutes. Then remove it and let it cool completely at room temperature. Then cover and refrigerate overnight (at least 8 hours), before unmolding and decorating.
Topping (optional)
- Add the cold heavy cream, powdered sugar, and vanilla to a cold bowl. Whip until medium-stiff peaks form.¼ cup powdered sugar, ½ teaspoon vanilla extract, 1 cup cold heavy cream
- Pipe a full ring around the edge of the chilled cheesecake. Garnish with lime slices before serving.
Notes
- Room-temperature ingredients are key for a smooth batter. Cold cream cheese or eggs will create lumps.
- Mix on low speed only. Over-mixing adds air, which can cause cracks later.
- Do not overmix the batter: Lightly beat the eggs separately, then fold them in gently so the batter stays smooth without too much air.
- Use an oven thermometer. Slow, low baking depends on accurate heat, even a small difference can change the texture. A portable oven thermometer helps you hit that steady 265°F (130°C).
- Baking cue: edges should look set and slightly matte, center wobbles like soft Jell-O, that's the sweet spot for creamy texture.
- Cooling: let it cool completely at room temperature before refrigerating; chilling too soon can trap moisture and make the top sticky.

Bea & Marco says
We’re so excited to share this key lime cheesecake with you! It’s creamy, bright, and baked without a water bath, which makes it feel so much more doable. If you try it, let us know how it went, especially if you’re usually nervous about baked cheesecakes. We’d love to hear from you!