

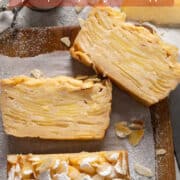
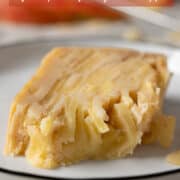
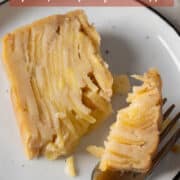
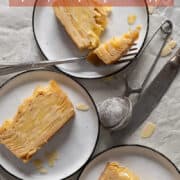
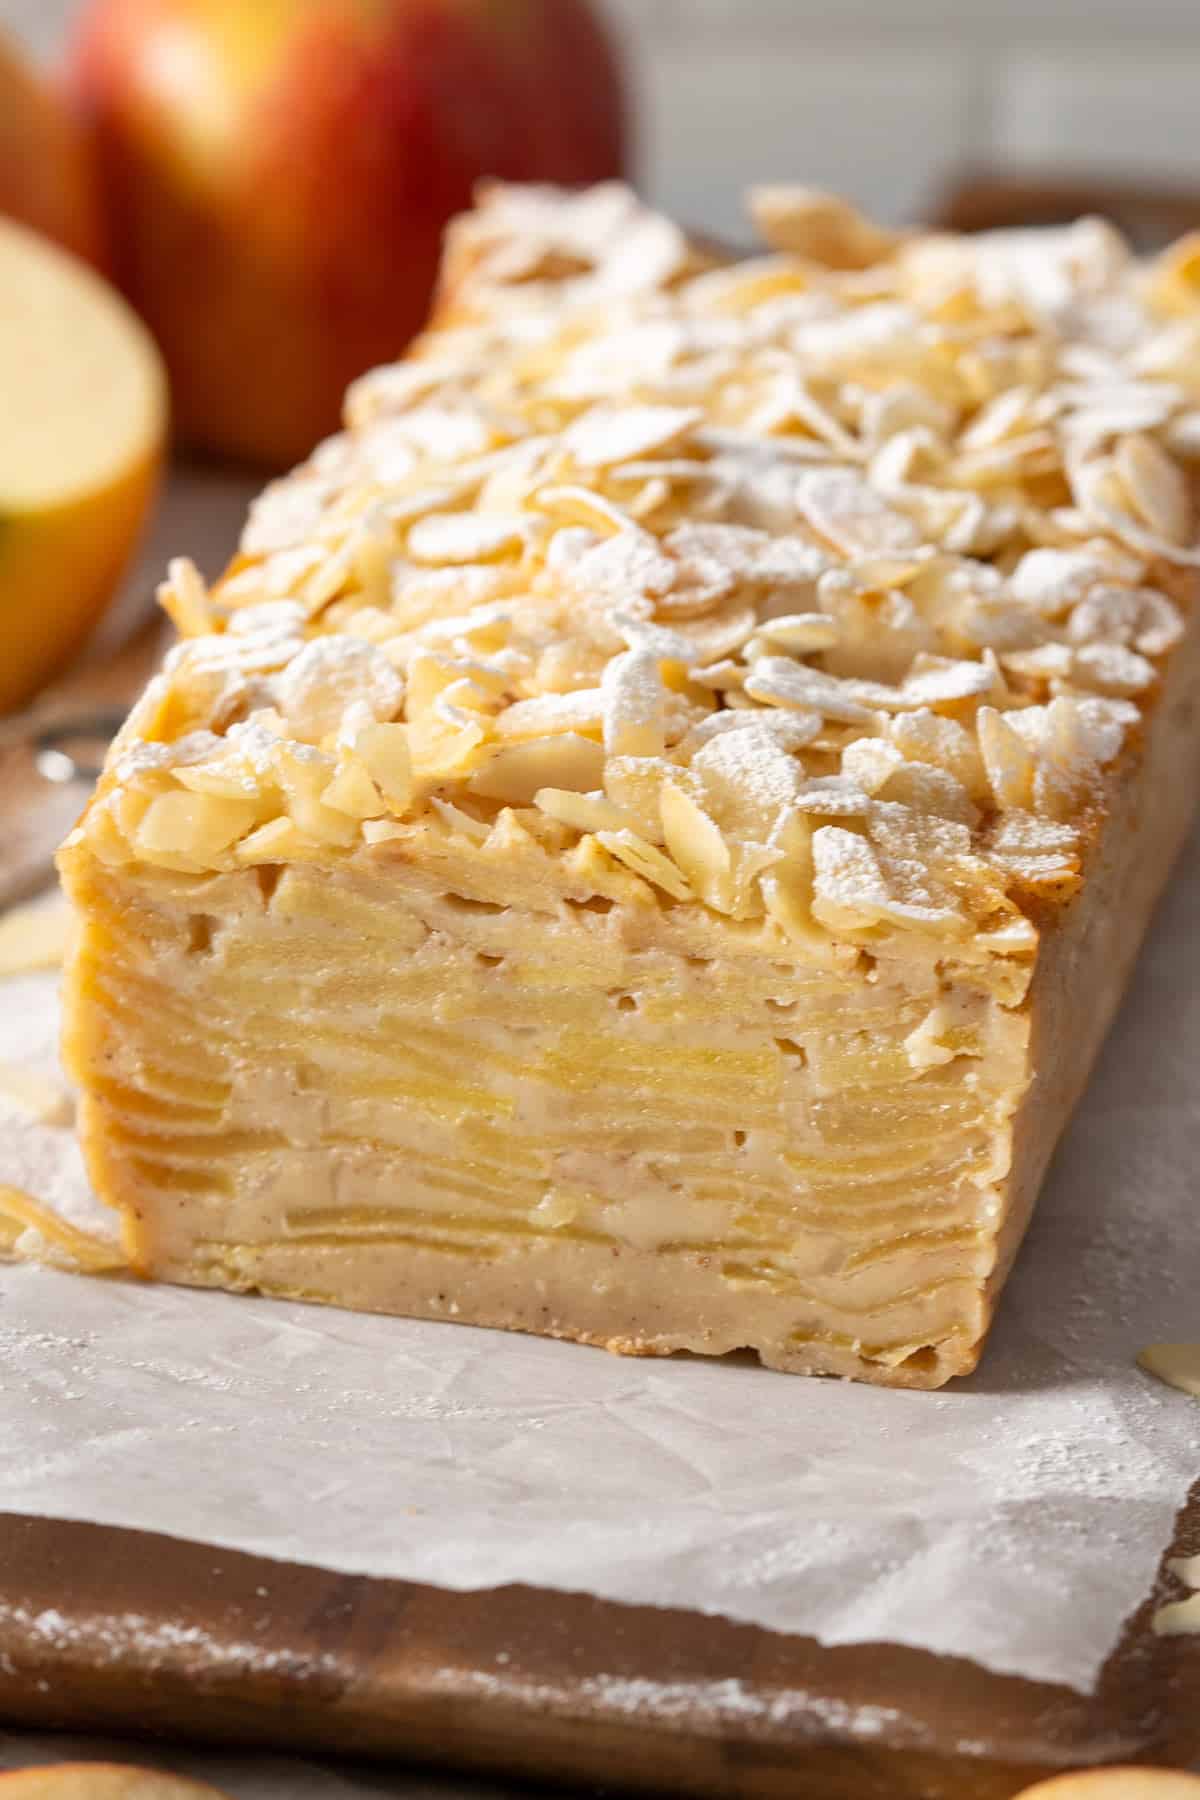
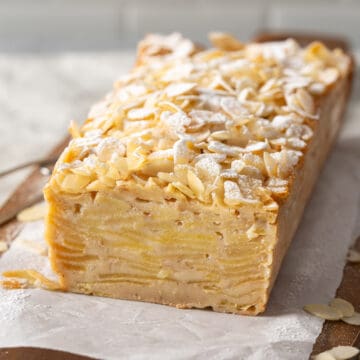
This invisible apple cake is packed with tender apple slices baked in a lightly sweet cinnamon-vanilla custard, creating delicate layers that practically melt in your mouth. It has a delicate apple-cinnamon flavor, looks impressive, and is much easier to make than you'd think.
★★★★★
I couldn't believe that this was actually good. Apples for everybody. LOL!
The whole family loved it. Thank you for sharing.
- Elisa
📮 Save this recipe for later!
Jump to:
France is one of our favorite places to explore in our motorhome, especially its charming little towns and beautiful bakeries. We love how French desserts can look elegant while allowing simple ingredients to shine, and this apple-filled cake gives us that same feeling. Delicate, beautiful, and unfussy, it instantly reminds us of why we love traveling there.
We first published this cake in 2020 using wholesome ingredients. We've since retested and updated it into a more classic version while keeping the apple-packed, custardy layers that make it so special.
What Is Invisible Apple Cake?
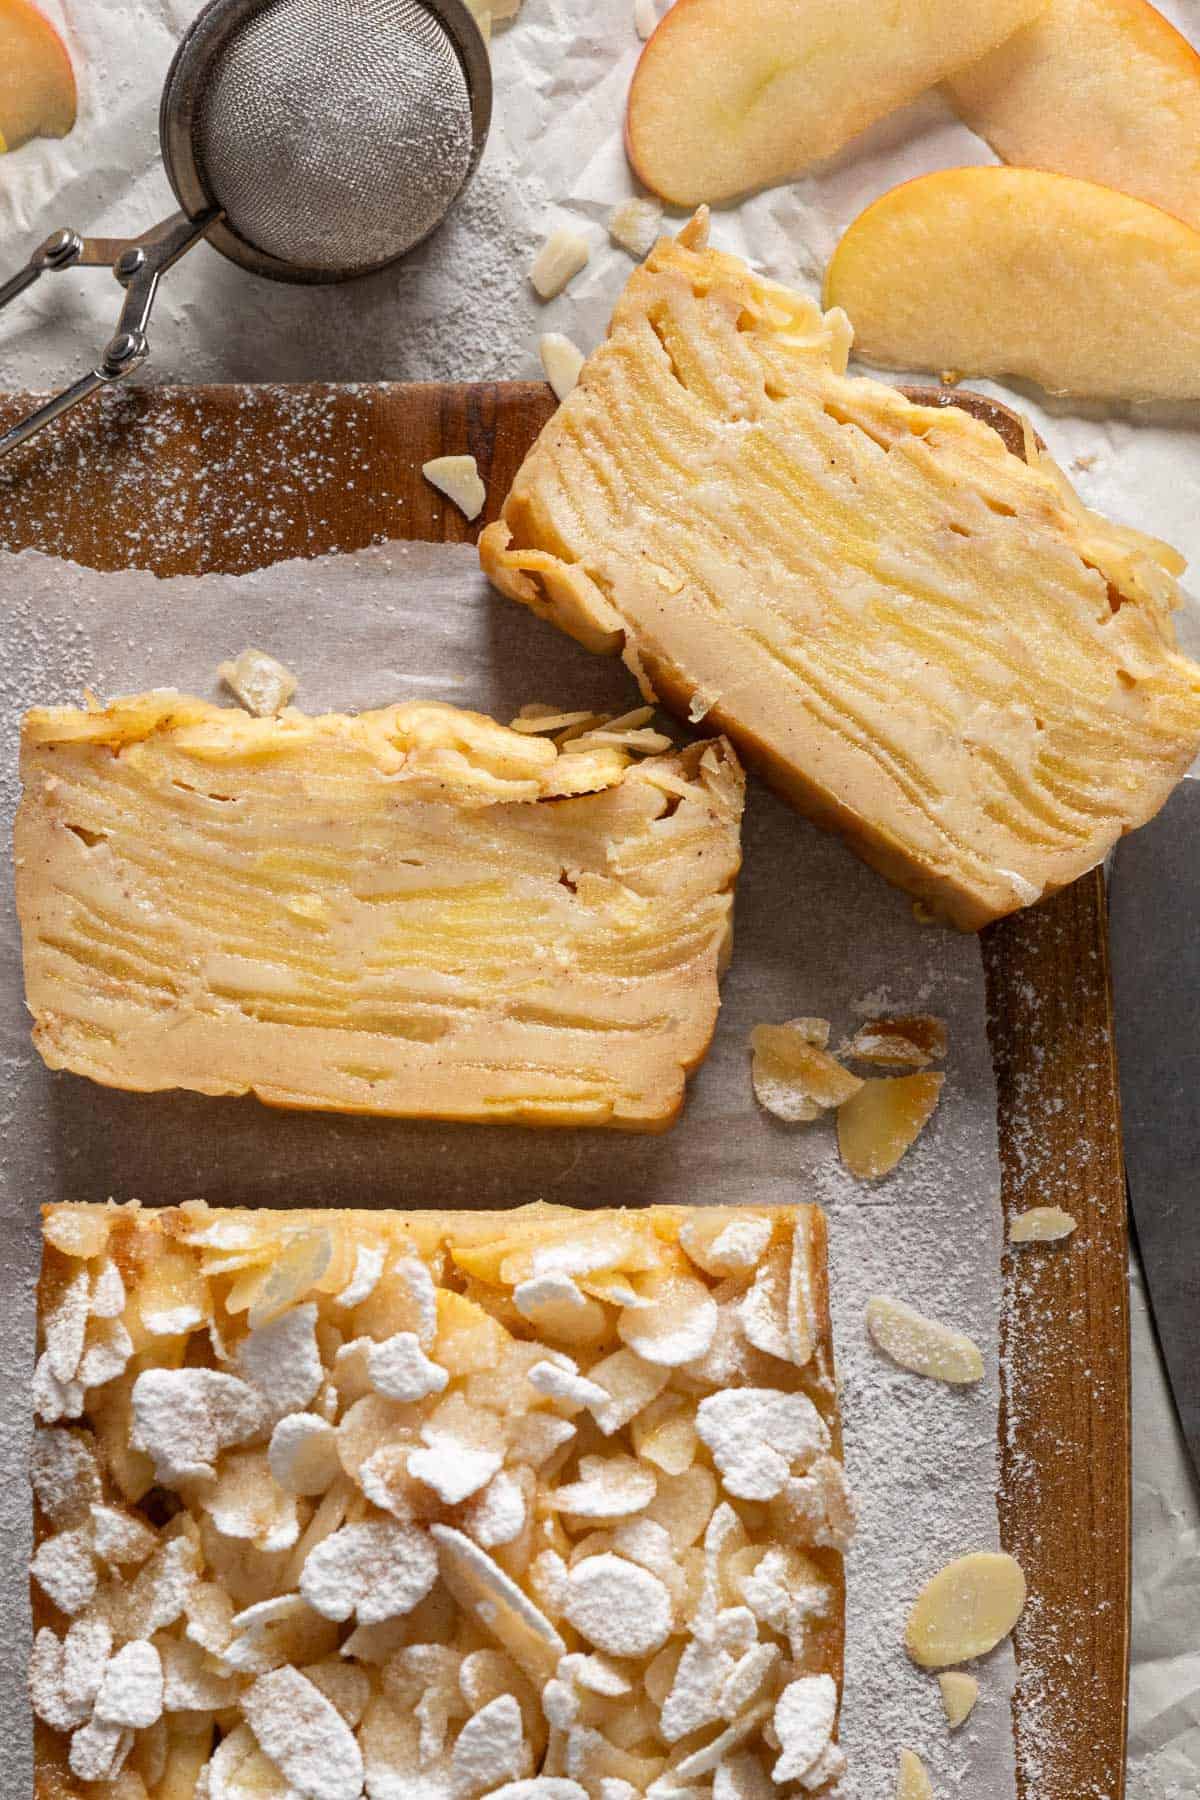
If you're wondering about the name, no, the apples don't actually disappear! Known as gâteau invisible aux pommes in French, this cake uses far more apples than batter. The slices are so thin that the batter settles between them and almost disappears as it bakes. Once sliced, you get all those beautiful apple layers with a soft texture that sits somewhere between cake and custard.
French food blogger Eryn helped make it popular when she shared her apple-and-pear version in 2008. From there, it gained a big following in Japan before making its way around the world. If you enjoy simple yet impressive bakes like this, you'll find plenty more in our Cake Recipes collection.
Why this recipe works
We wanted this invisible apple cake recipe to capture everything we love about baked apples in a dessert that feels a little more special. It's cozy enough for a quiet fall afternoon yet beautiful enough to serve when you have people over.
Packed with apple flavor: Apples make up most of the cake, with a full 2 pounds in one loaf, so their sweet flavor comes through in every bite.
Beautiful without the fuss: The delicate layers and golden almond topping make this layered apple cake look elegant, even though it's made with simple ingredients and an everyday loaf pan.
Lightly sweet: It satisfies that dessert craving without feeling heavy or overly sweet after a meal.
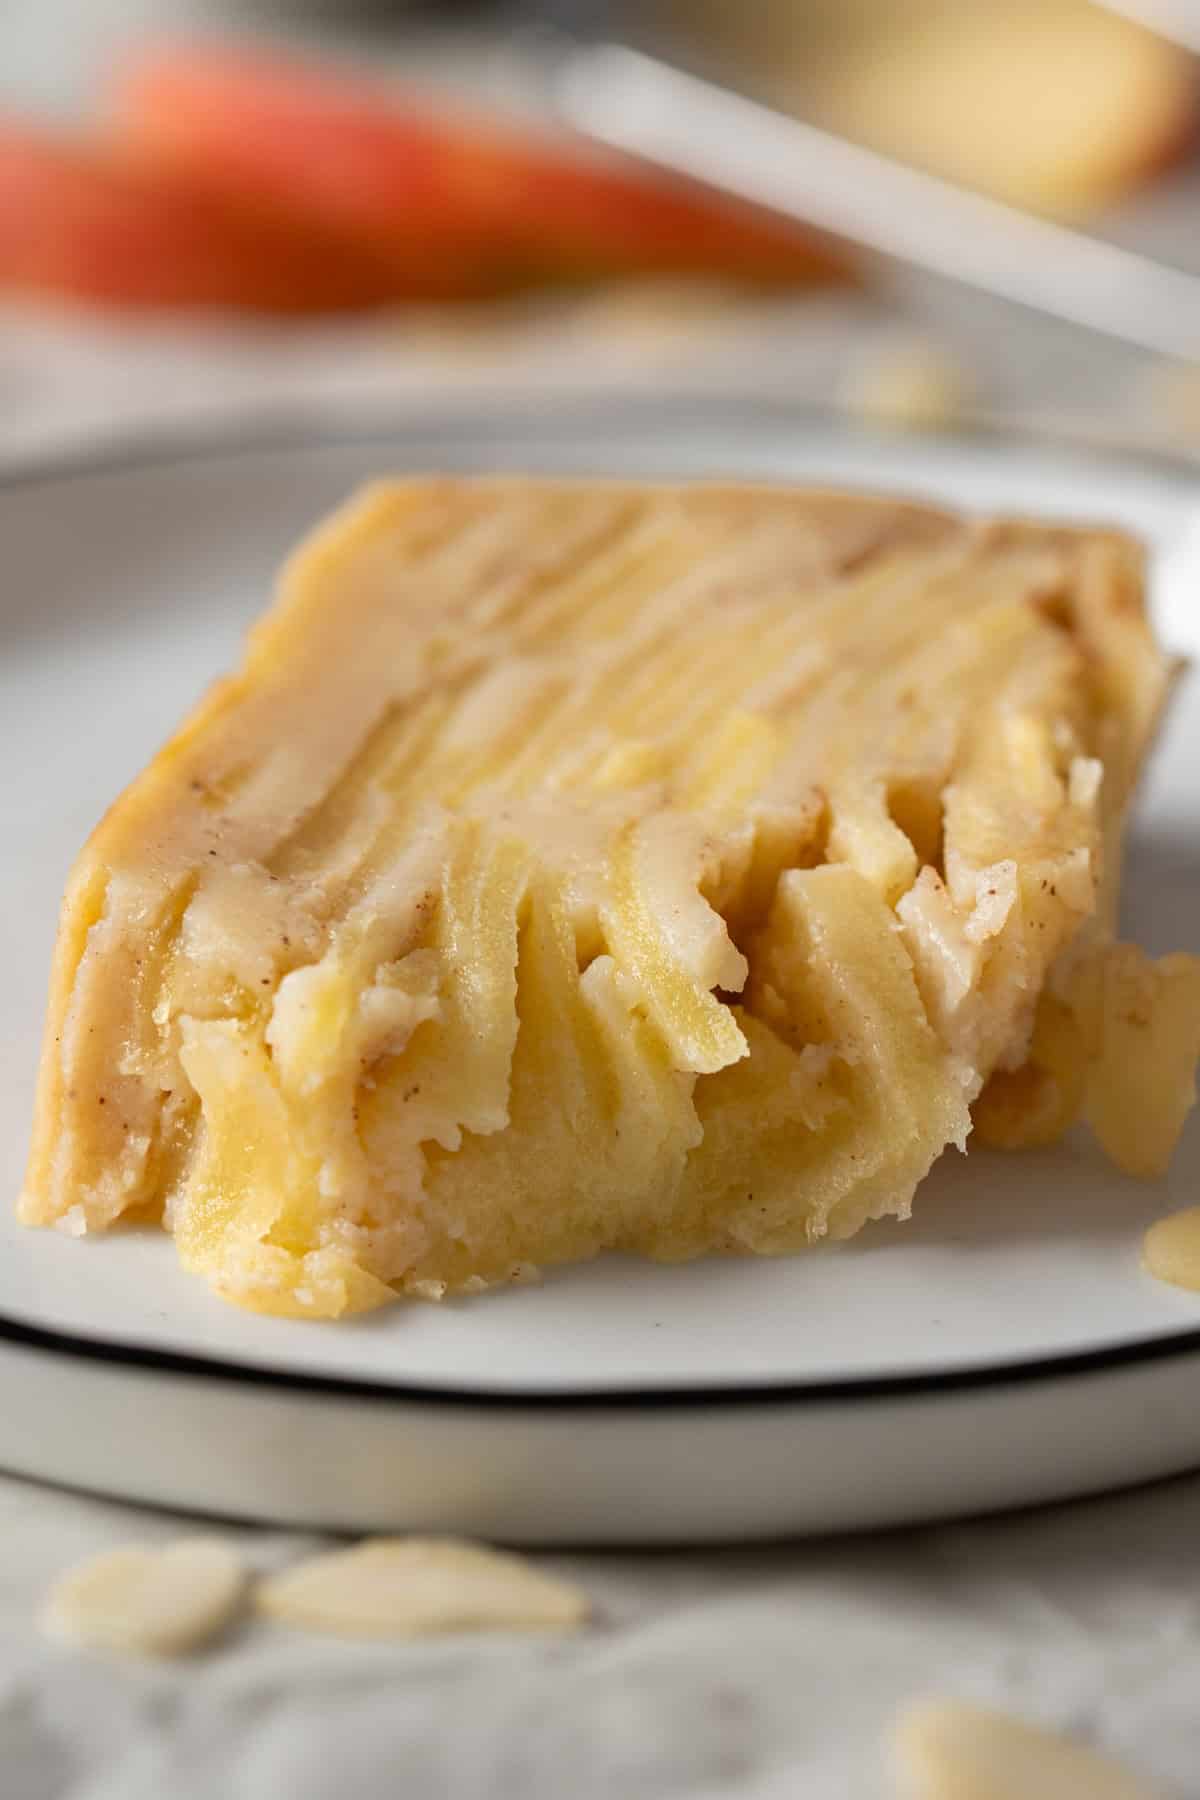
Soft and custardy: This apple custard cake has a delicate texture that feels creamy and almost melts in your mouth.
Perfect for making ahead: The flavor and texture become even better after chilling, so you can prepare it the day before and have dessert ready when you need it.
Ingredients you'll need
Most of the ingredients for this invisible apple cake are everyday baking staples. Here are the few worth knowing about before you start!
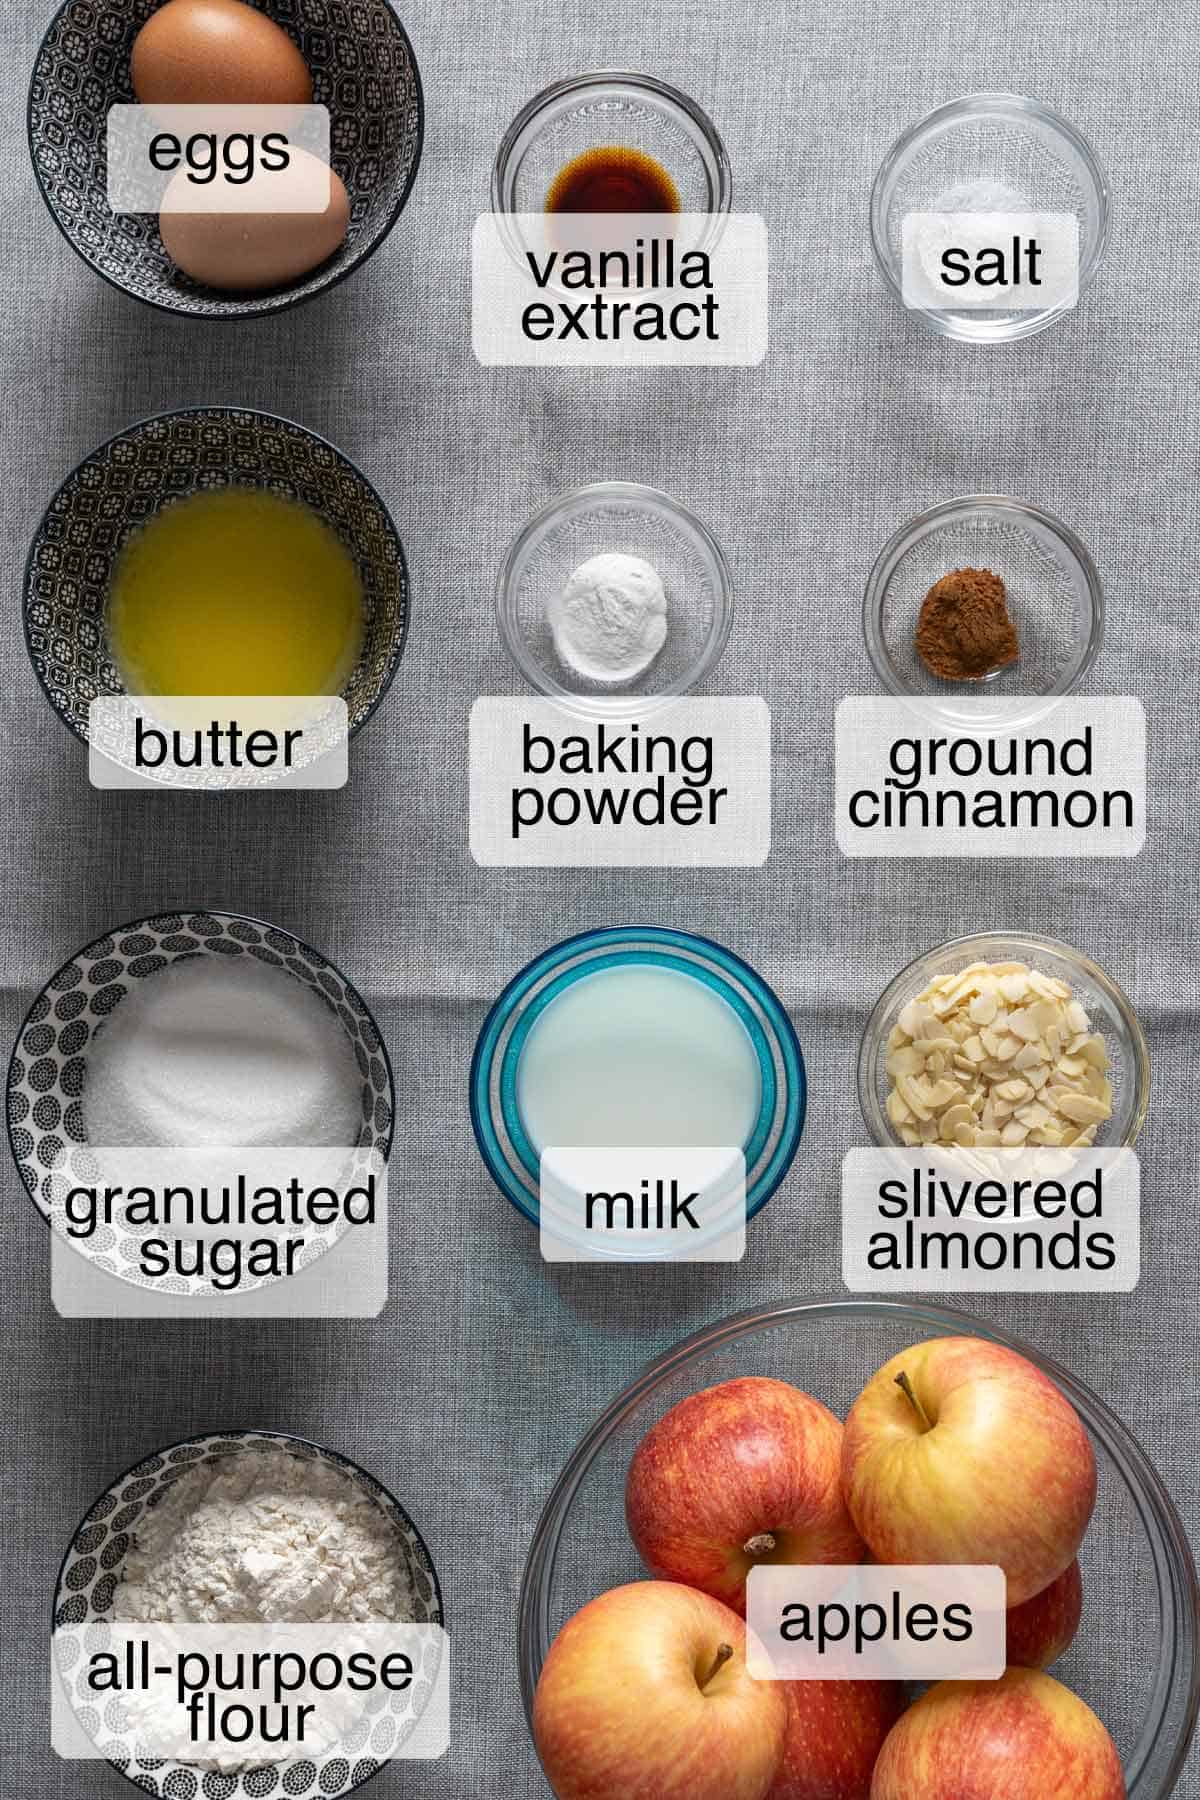
Key ingredients note:
Apples: We use 2 pounds (900 g) of Gala apples, weighed whole before peeling and coring. They're naturally sweet, hold their shape well, and become beautifully tender in the oven. Other firm apples will also work, but a tart variety will give you a less sweet cake.
All-purpose flour: You only need a small amount since this cake is mostly fruit. Regular all-purpose flour gives the batter enough structure while keeping those custardy layers delicate.
Granulated sugar: Half a cup gives us a lightly sweet cake that still lets the apples shine.
Cinnamon and vanilla: Cinnamon is optional, technically. But skipping it in a fall apple cake feels slightly wrong to us! Together with vanilla, it gives the cake that warm, cozy flavor we love in our Apple Cinnamon Rolls.
You'll find all the exact measurements in the recipe card below.
Substitutions and variations
This French invisible apple cake is simple, but its delicate texture depends on the balance between the apples and batter. These are the safest changes without turning it into a completely different recipe.
Use another apple: Gala apples give us a naturally sweet, balanced flavor, but another firm apple will also work. Granny Smith will make the cake noticeably tarter, so we prefer mixing it with a sweeter variety rather than using it alone.
Use salted butter: Simply leave out the added salt in the recipe.
Change the spice: Leave out the cinnamon for a more delicate vanilla flavor, or replace it with the same amount of apple pie spice for a warmer fall version.
Change or omit the almonds: Sliced almonds work in place of slivered almonds. For a nut-free cake, leave them off and finish with powdered sugar.
Use oat flour: Our original version was made with oat flour, so we know it works beautifully! Replace the all-purpose flour with ¾ cup (82 g) of fine oat flour and increase the milk to ⅓ cup (80 ml). The batter should be thick enough to coat the apple slices without sliding straight off.
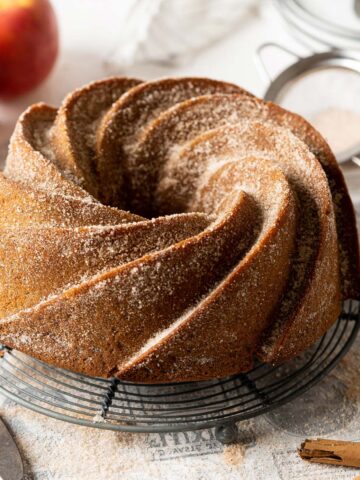
For another cozy fall bake, try our Healthy Apple Cider Doughnut Cake.
Watch the video
Watch the video below to see the batter consistency, how thinly we slice the apples, and how we arrange them to create those beautiful layers.
How to Make Invisible Apple Cake
This cake comes together in a few simple stages. Follow the step-by-step photos and useful cues below for evenly coated apples, beautiful layers, and that soft, custardy texture.
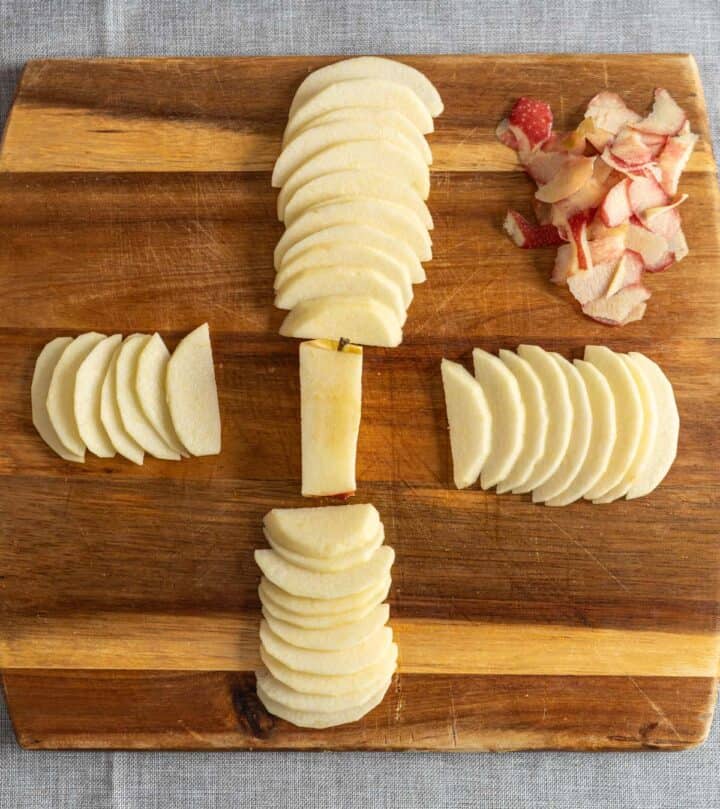
Slice the apples
Slice the apples
Peel the apples, cut down around the core to get four pieces, and slice each piece to 1/16 inch (2 mm) thick.
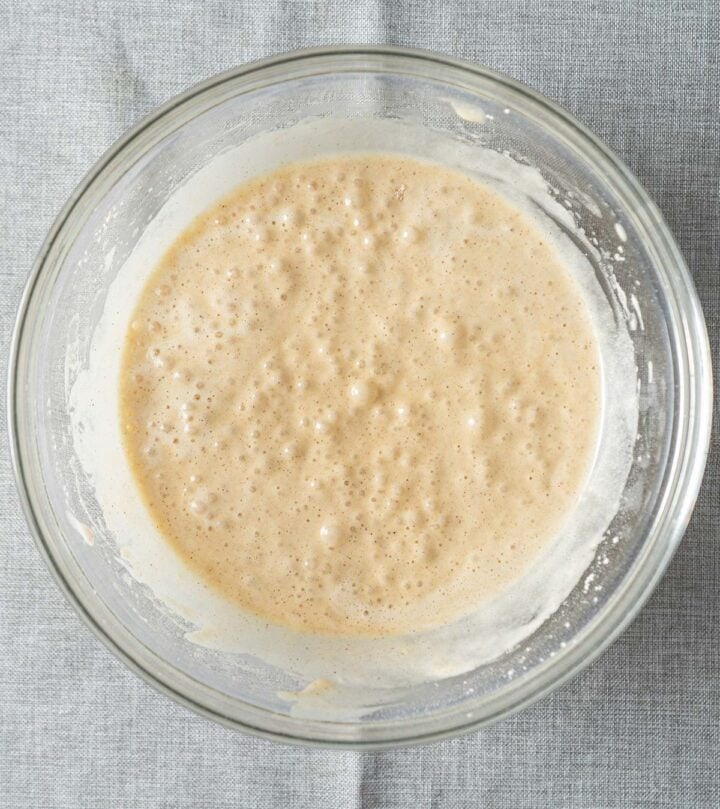
Mix the batter
Whisk the eggs and sugar until pale, then mix in the remaining wet ingredients followed by the dry ingredients.
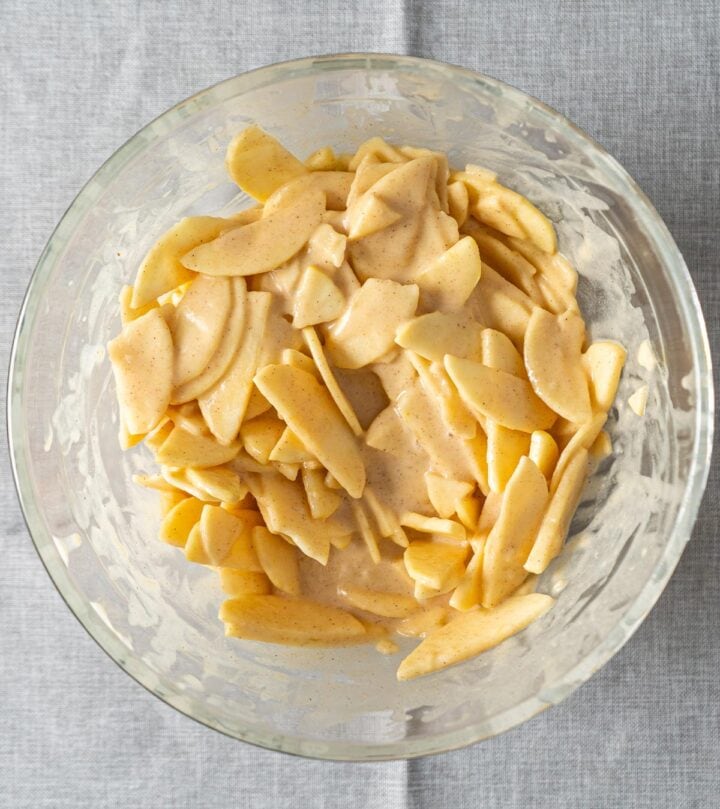
Coat the apple slices
Gently coat every slice with batter. We find clean hands make it easier to separate any slices stuck together.
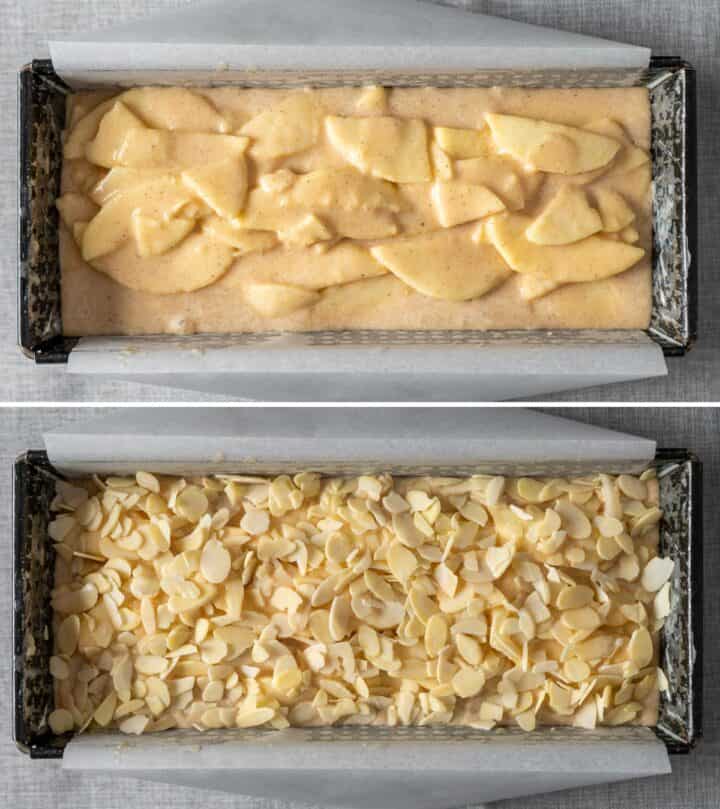
Fill the pan
Arrange the apples mostly flat in batches, spooning batter between them and building the center slightly higher. Top with slivered almonds.
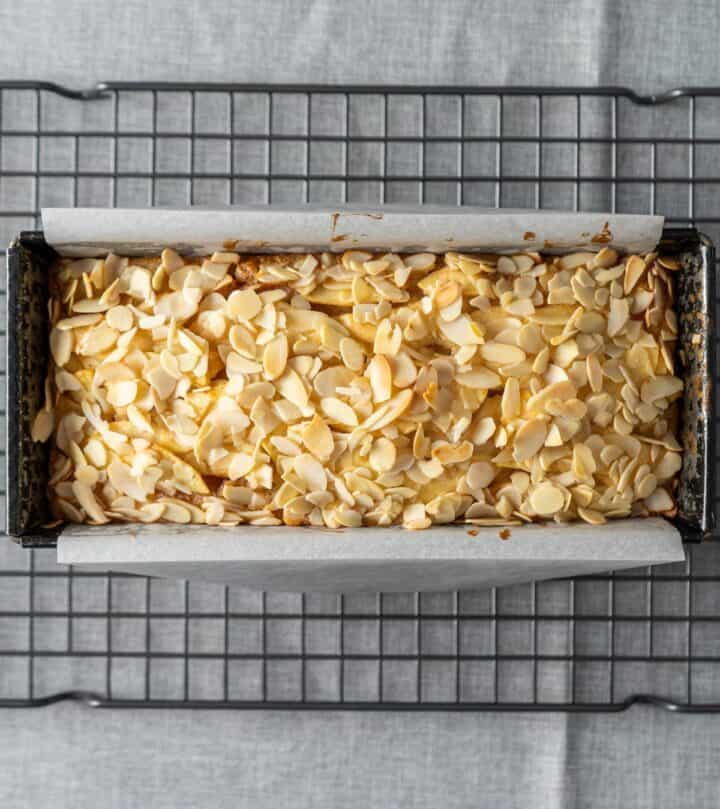
Bake
Bake until golden and a skewer comes out without wet batter. Rest in the pan for 30 minutes, cool completely, then chill for at least 2 hours. Dust with powdered sugar before serving.
Tips for the best Invisible Apple Cake
- Choose firm apples: Gala apples work beautifully, but Honeycrisp, Pink Lady, or Fuji are also good choices. Avoid soft apples that can turn mushy while baking.
- Keep the slices thin and even: Aim for about 1/16 inch (2 mm) so the apples soften properly and form delicate layers.
- Check the batter consistency: It should coat the apple slices without immediately sliding off or collecting at the bottom of the bowl.
- Coat every slice: A spatula works, but we find clean hands much easier for separating slices stuck together and coating them properly.
- Build up the center: Arrange the apples mostly flat and pile the center slightly higher to give the cake its beautiful domed top.
- Don't remove it too soon: Let it rest in the pan for 30 minutes for better structure. In a rush, we tried removing ours after 10 minutes, and the warm sides immediately started relaxing and spreading.
- Chill before slicing: This is more custardy than a typical cake, so chilling helps it set, gives you cleaner slices, and honestly, it tastes even better cold!
How to serve and store
Serve
- This French apple custard cake is best served chilled, when the layers are set, and the texture is beautifully soft and custardy.
- Dust it with powdered sugar just before serving, as the sugar will slowly dissolve on the moist surface.
Store
- Cover the cake well or keep individual slices in an airtight container in the fridge for up to 4 days.
- The almonds will soften over time, but a fresh dusting of powdered sugar will make the top look lovely again!
Make ahead
- Bake it the day before and chill it overnight. The flavor and texture become even better once it has had time to set.
Freeze
- We don't recommend freezing it, as the delicate apple and custard layers may release moisture and become watery after thawing.
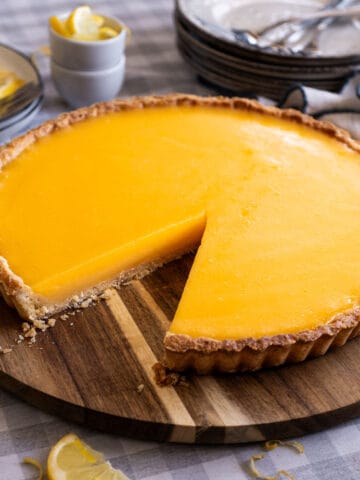
If you love simple fruit desserts, try our Easy Berry Galette or bright and creamy Lemon Tart next.
Frequently asked questions
It gets its name because the small amount of batter settles between the thin apple slices and almost disappears as it bakes. Those delicate layers are also why it's sometimes called a thousand-layer apple cake.
Firm apples that hold their shape while baking work best. Gala is our favorite here, but Honeycrisp, Pink Lady, and Fuji are also great choices.
It was most likely removed from the pan or sliced before it had fully set. Let it rest in the pan for 30 minutes, cool completely, and chill before slicing.
Chilled, we highly recommend it! This cake has a soft, custardy texture, and chilling helps the layers set while making the flavor even better.
Yes, and it's actually better that way. Bake it the day before, refrigerate it overnight, and dust it with powdered sugar shortly before serving.
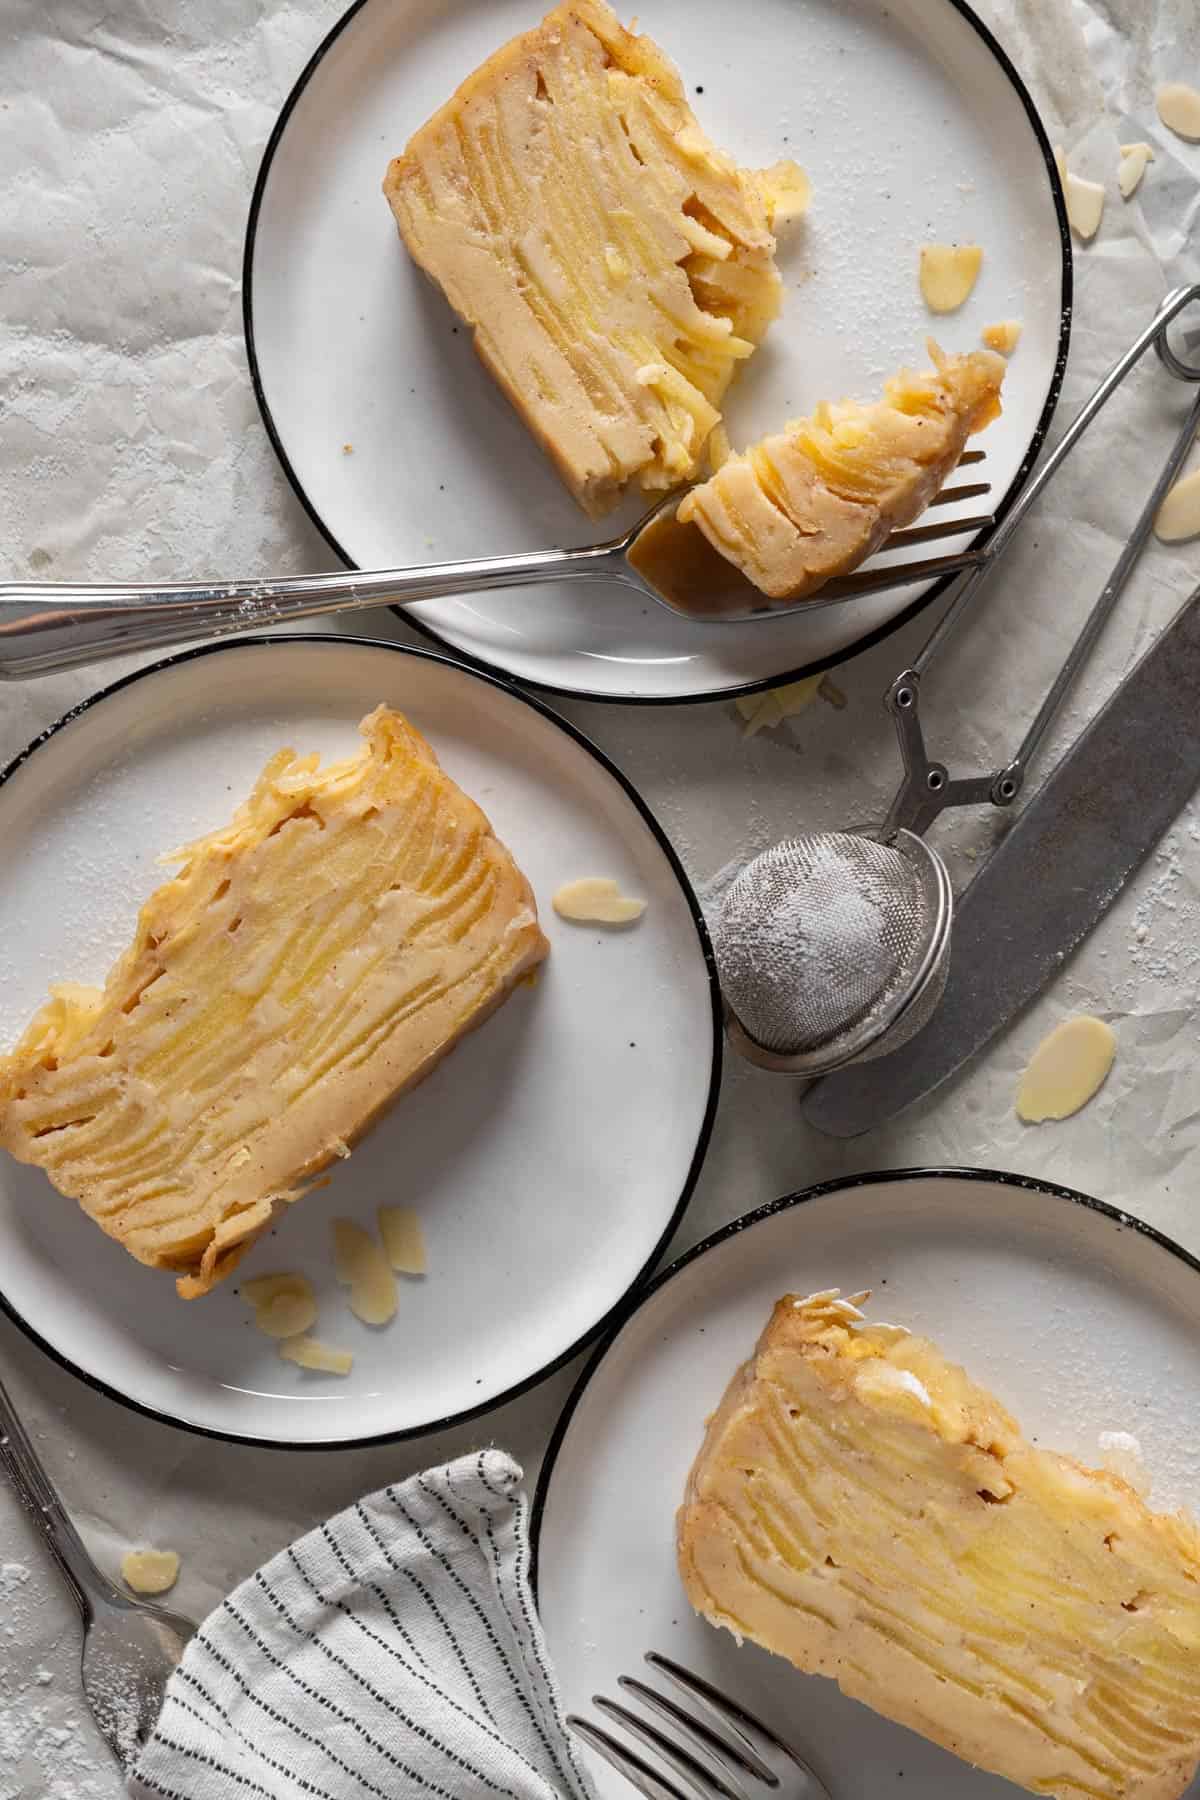
I hope you give this invisible apple cake a try. It's such a lovely way to turn everyday apples into a dessert that feels a little special without making you work too hard for it.
If you make it, leave us a comment and rating below. We'd love to know how it turned out!
More fruit desserts you'll love

Did you try this Invisible Apple Cake?
We'd love to hear from you! Please leave us a ★★★★★ rating and share your thoughts in the comments. If you post on Instagram, tag us, we'd love to see it!
Thank you! - Bea and Marco
📖 Recipe
Invisible Apple Cake
Video
Ingredients
Dry ingredients
- ¾ cup (100 g) all-purpose flour
- ¾ teaspoon baking powder
- ½ teaspoon ground cinnamon
- ¼ teaspoon fine salt
Wet ingredients
- 2 large eggs room temperature
- ½ cup (100 g) granulated sugar
- ¼ cup (60 ml) milk room temperature
- 3 tablespoon (40 g) unsalted butter melted and slightly cooled
- 1 teaspoon vanilla extract
Apples and topping
- 2 lb (900 g) Gala apples weighed whole before peeling and coring
- ¼ cup (25 g) slivered almonds
- 1 tablespoon powdered sugar

Instructions
- Preheat the oven to 350°F (175°C), using upper and lower heat without the fan. Position the rack in the lower third of the oven. Grease and line a 4.4 x 10-inch loaf pan (11x25 cm) with parchment paper, leaving some overhang for lifting out the cake. 5 x 9-inch pan (13x23 cm) works, too.
Prepping the apples
- Peel each apple and cut down along all four sides of the core, leaving the rectangular core behind. Slice each apple piece evenly to about 1/16 inch (2 mm) thick.2 lb Gala apples
- Place the sliced apples in a bowl and cover tightly with plastic wrap to help prevent browning.
Dry ingredients
- Whisk the flour, baking powder, cinnamon, and salt together in a bowl. Set aside.¾ cup all-purpose flour, ¾ tsp baking powder, ½ tsp ground cinnamon, ¼ tsp fine salt
Wet ingredients
- Using a handheld mixer at high speed, whisk the eggs and sugar for about 5 minutes, until pale and slightly thickened. The mixture should fall in ribbons that sit on the surface for a few seconds before disappearing.2 large eggs, ½ cup granulated sugar
- Mix in the milk, melted butter, and vanilla. Add the dry ingredients and whisk just until the batter is smooth. Don't over mix.¼ cup milk, 3 tbsp unsalted butter, 1 tsp vanilla extract
- Add the apple slices to the batter and gently coat every slice. A spatula works, but clean hands make it easier to separate slices stuck together without breaking them.
Bake
- Spoon the coated apples into the pan in batches, arranging them mostly flat and adding batter between the layers. Lightly press them into place and build the center slightly higher for a gently domed top.
- Sprinkle the slivered almonds evenly over the top. Bake for about 70 minutes. Check the cake after 30 minutes and, if the almonds are already golden, loosely tent the top with aluminum foil. Continue baking until a skewer inserted into the center comes out without wet batter.¼ cup slivered almonds
- Leave the cake in the pan for 30 minutes. Lift it out using the parchment paper and let it cool completely.
- Chill for 1 to 2 hours, or overnight, for the cleanest slices and best texture. Dust with powdered sugar just before serving.1 tbsp powdered sugar
Notes
- The batter should be thick enough to cling to the apple slices without immediately sliding off. If it feels too thick to coat them properly, increase the milk gradually, using no more than ⅓ cup (83 ml) in total.
- A 9 × 5-inch loaf pan has almost the same base area as the tested pan and can be used without scaling the recipe.
- Weigh the apples whole, before peeling and removing the cores.
- Don't remove the cake from the pan after only 10 minutes. The warm sides can relax and spread. Give it the full 30-minute rest.
- This cake has a custardy texture and tastes best chilled.
- Protect the almonds. Check the cake after about 30 minutes. If the almonds are already golden, loosely tent the top with aluminum foil so they don't burn before the center finishes baking.
Originally published on Nov 28, 2020. Updated with improved text, recipe, and pictures on Sep 26, 2026.
Julia says
Hi, could I please have the recipe that you posted originally?
Bea & Marco says
Hi Julia! You can find the original wholesome recipe in our video here: https://www.youtube.com/watch?v=-QqxHjBUfjM
We recently updated the recipe, as comments and ratings help us see which recipes readers are still making and enjoying. Thank you, and hope this helps! ❤️
Pessy K. says
Hi! This recipe looks amazing. If I were to substitute the milk with plant based milk, is there a particular plant based milk that you would recommend for this recipe (to get the consistency right)? Also, does this recipe freeze well?
Thank you!
Bea & Marco says
Hi! I'd say oat or almond milk would be great. I haven't tried freezing it but I'm thinking it might not freeze as good. I recommend keeping it in the fridge. Hope it helps!
Clair says
Good afternoon, your cake looks beautiful! I was wondering if it is possible to do a full cake, instead of a loaf and what would be the correspondent measurements?
Bea & Marco says
Hi Clair! You can bake it in an 8 or 9 inch round pan, using the same measurements. Hope it helps!
Francesca says
Wow. Thank you for such a great recipe! This turned out delicious!! I did mess up in step 2 and accidentally mixed all the wet ingredients together at once, rather than just whisking the eggs and sugar alone first, but it still turned out amazing. I like that it uses oats/oat flour and that there's so much apple in it (I used a bag of granny smith apples)! Deliciousssss
Bea says
Yeay! Happy to hear that, Francesca! Yes, this recipe is like pure apple, right? Thank you for your feedback, so check around here for more healthier bakes.
Christi says
Hi Bea, I tried this today and while the assembled cake was baking, I realised I used 57g (1/4 cup) of butter instead of 30g sub from the coconut oil (ran out of it). And my conventional oven only heats from the bottom. At about 60 minutes a cake tester came out clean so I removed the cake and let it rest for a bit before transferring it out to cool. While it was cooling, it kinda deflated and shrank to its original height before baking.
It’s still so tasty and the Ambrosia slices held during the bake. Can you tell me what oven setting should I use? I will definitely try this again hopefully without mistakes 😉 Thanks for this wonderful recipe.
Bea says
Hi Cristi! I saw the picture you sent me in IG (replied you there too) and your cake looks beautiful! If you see in my video, the baked cake didn't rise high the way the typical cakes would, it was more or less the same height before baking. It's totally fine because this is not the typical crumbs-type-of-cake to begin with. Since your oven only heats from the bottom and I could see from the photo you sent me that the cake was a tad humid that mine, what you could do is bake it for a few minutes more if you make it next time. Also try using portable thermometer to get the accurate oven temperature (I use it all the time). Hope it helps and thank so you much for your feedback! 😍
Micah Brent says
Thank you for sharing this healthy recipe together with detailed instructions.
The video is a great help also.
Bea says
Hi Micah! I'm glad that you find them useful. Thank you for your feedback! 🙌
Elisa says
I couldn't believe that this was actually good. Apples for everybody. LOL!
The whole family loved it. Thank you for sharing.
Bea says
Haha! Right? Glad that everybody loved it. Do browse through here for more healthy recipes. Thank you Elisa!
Mona says
This was reallly good!
Bea says
I'm glad you liked it! 🙂
Jaikumar says
Nice recipe I will try and share it u soon🥰
Bea says
Hope you'll like it!