Welcome to El Mundo Eats!
Here you'll find delicious desserts and easy Asian recipes, all made with simple steps and big flavors. Let's make cooking fun and doable!
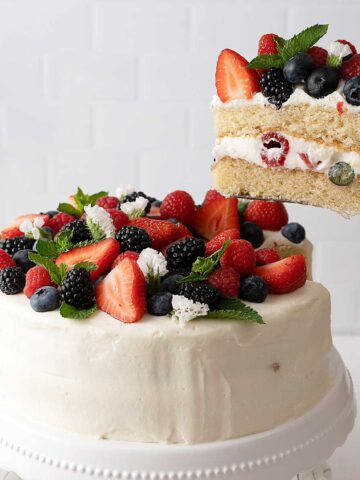
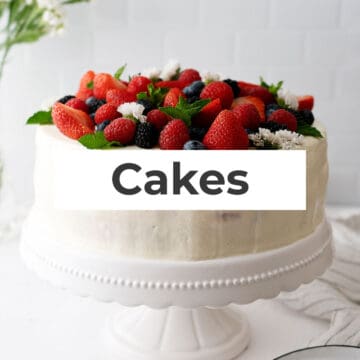
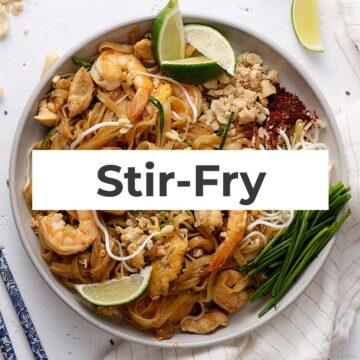
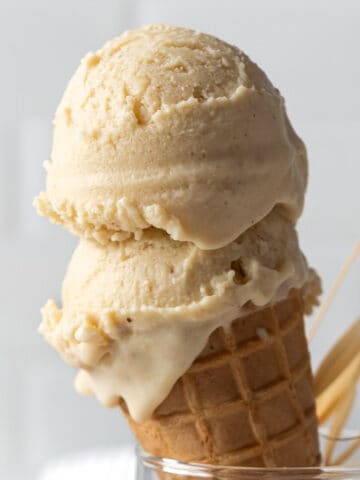
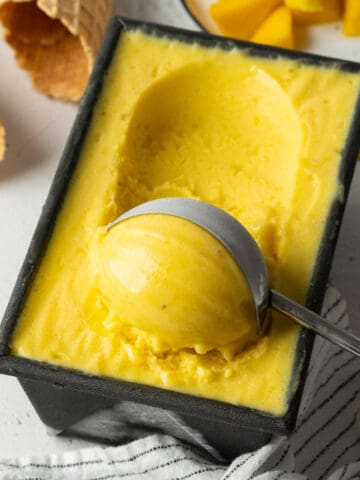
Summer Recipes
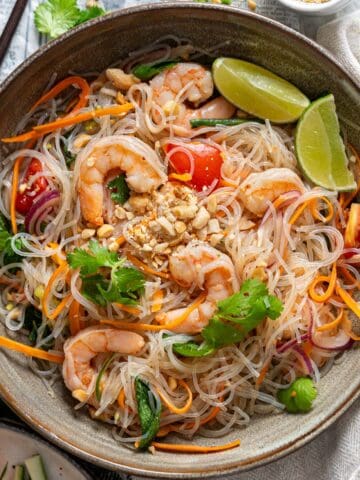
Cool desserts, colorful fruit recipes, and easy Asian dishes made for warm summer days.
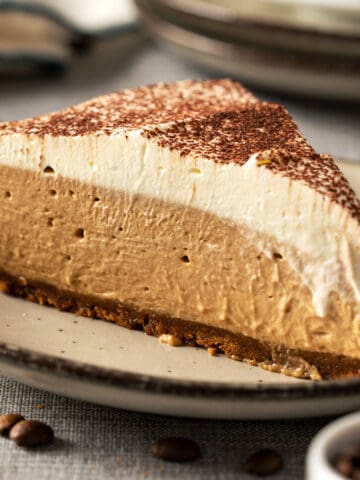


Trending Recipes
Our readers can't stop cooking these recipes, you'll love them too!

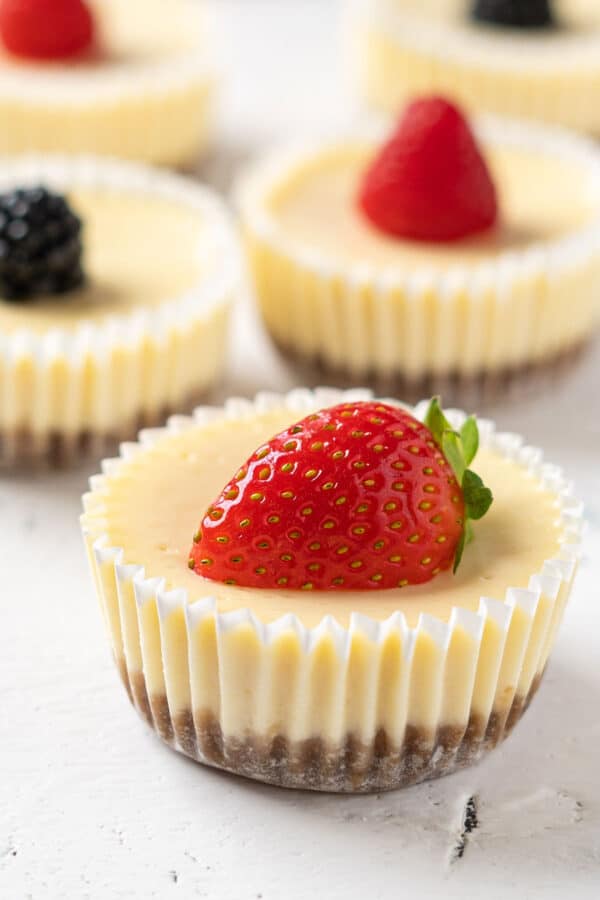
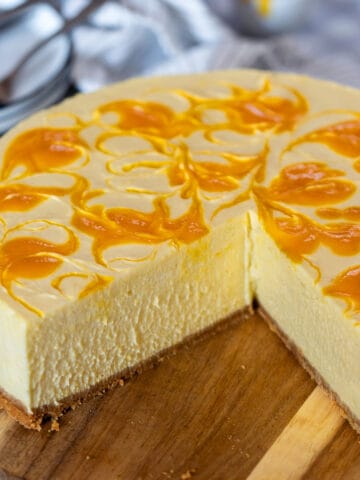
fan favorite!
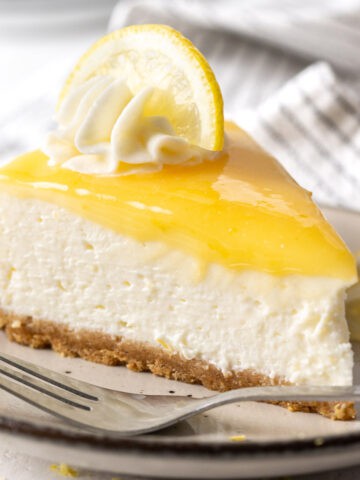
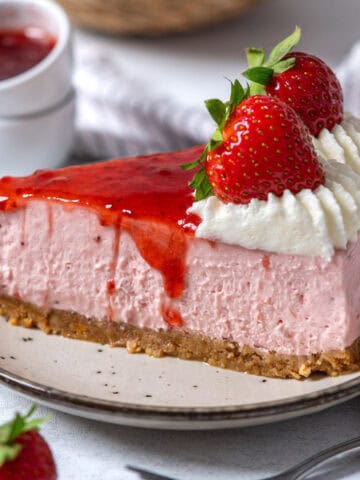
Easy Mini Cheesecakes
I made these mini cheesecakes for a family gathering and they were a huge hit! Creamy, smooth, and perfectly portioned. No cracks, no water bath - just perfection.
Hithesh Ponnanna

Hi, we're Bea & Marco 👋
We share desserts and easy Asian recipes that actually work, from foolproof no-bake cheesecakes to cozy family dinners. Our recipes have been tried by millions on YouTube (20M+ on our Mini Cheesecakes alone!) and loved by home cooks around the world.
We'd love to cook and bake with you!
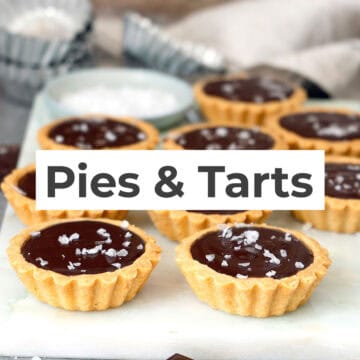
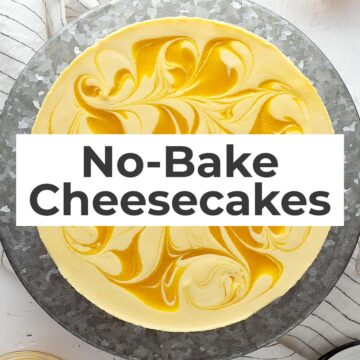
Browse Popular Categories


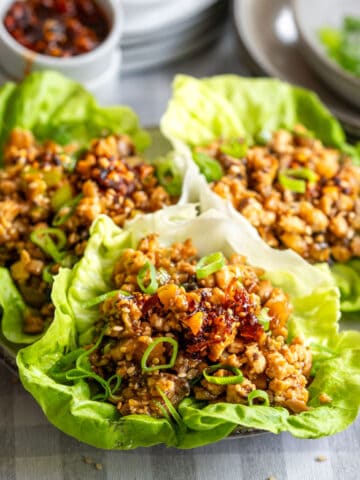
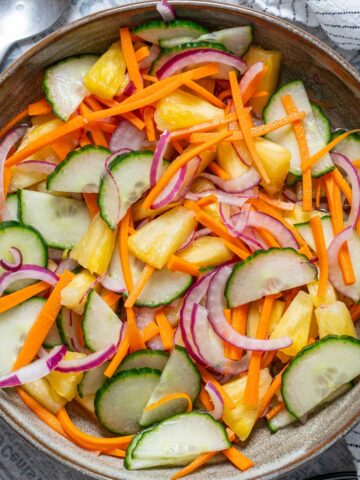
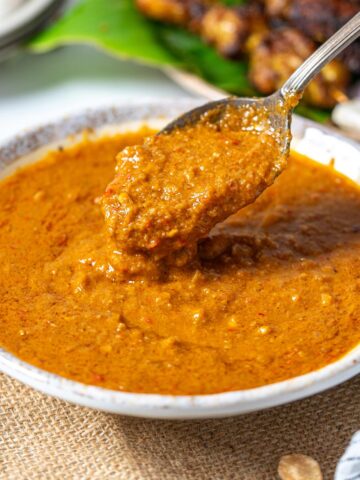
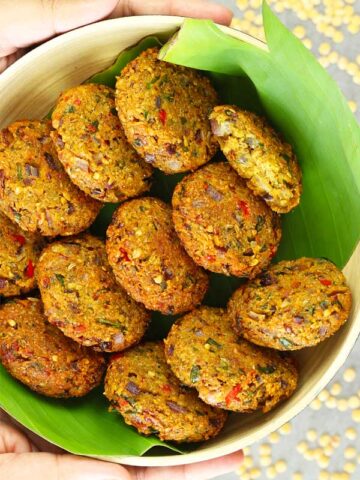
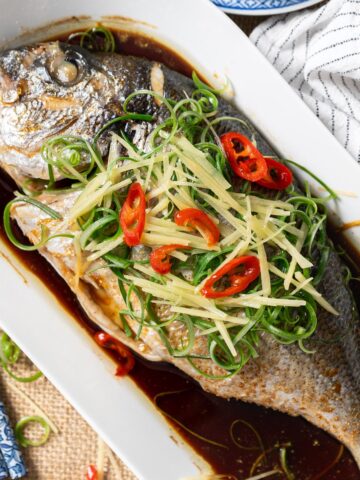
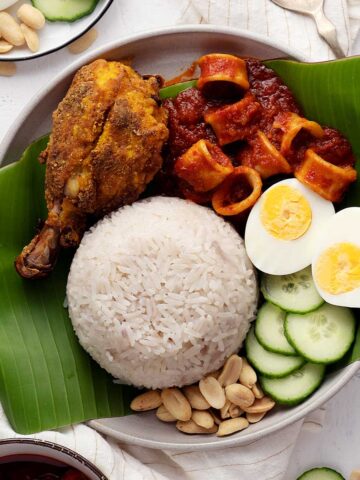
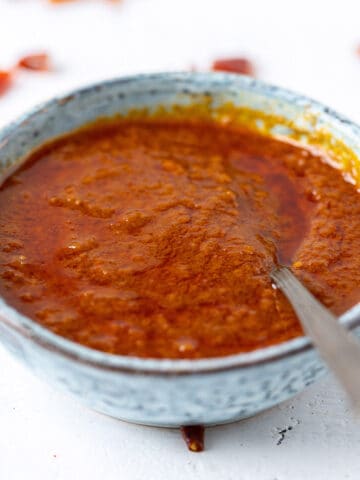
Easy Asian Recipes
Fresh salads, easy mains, and Bea's Malaysian favorites.

Want more authentic flavors? Explore all our Malaysian recipes →


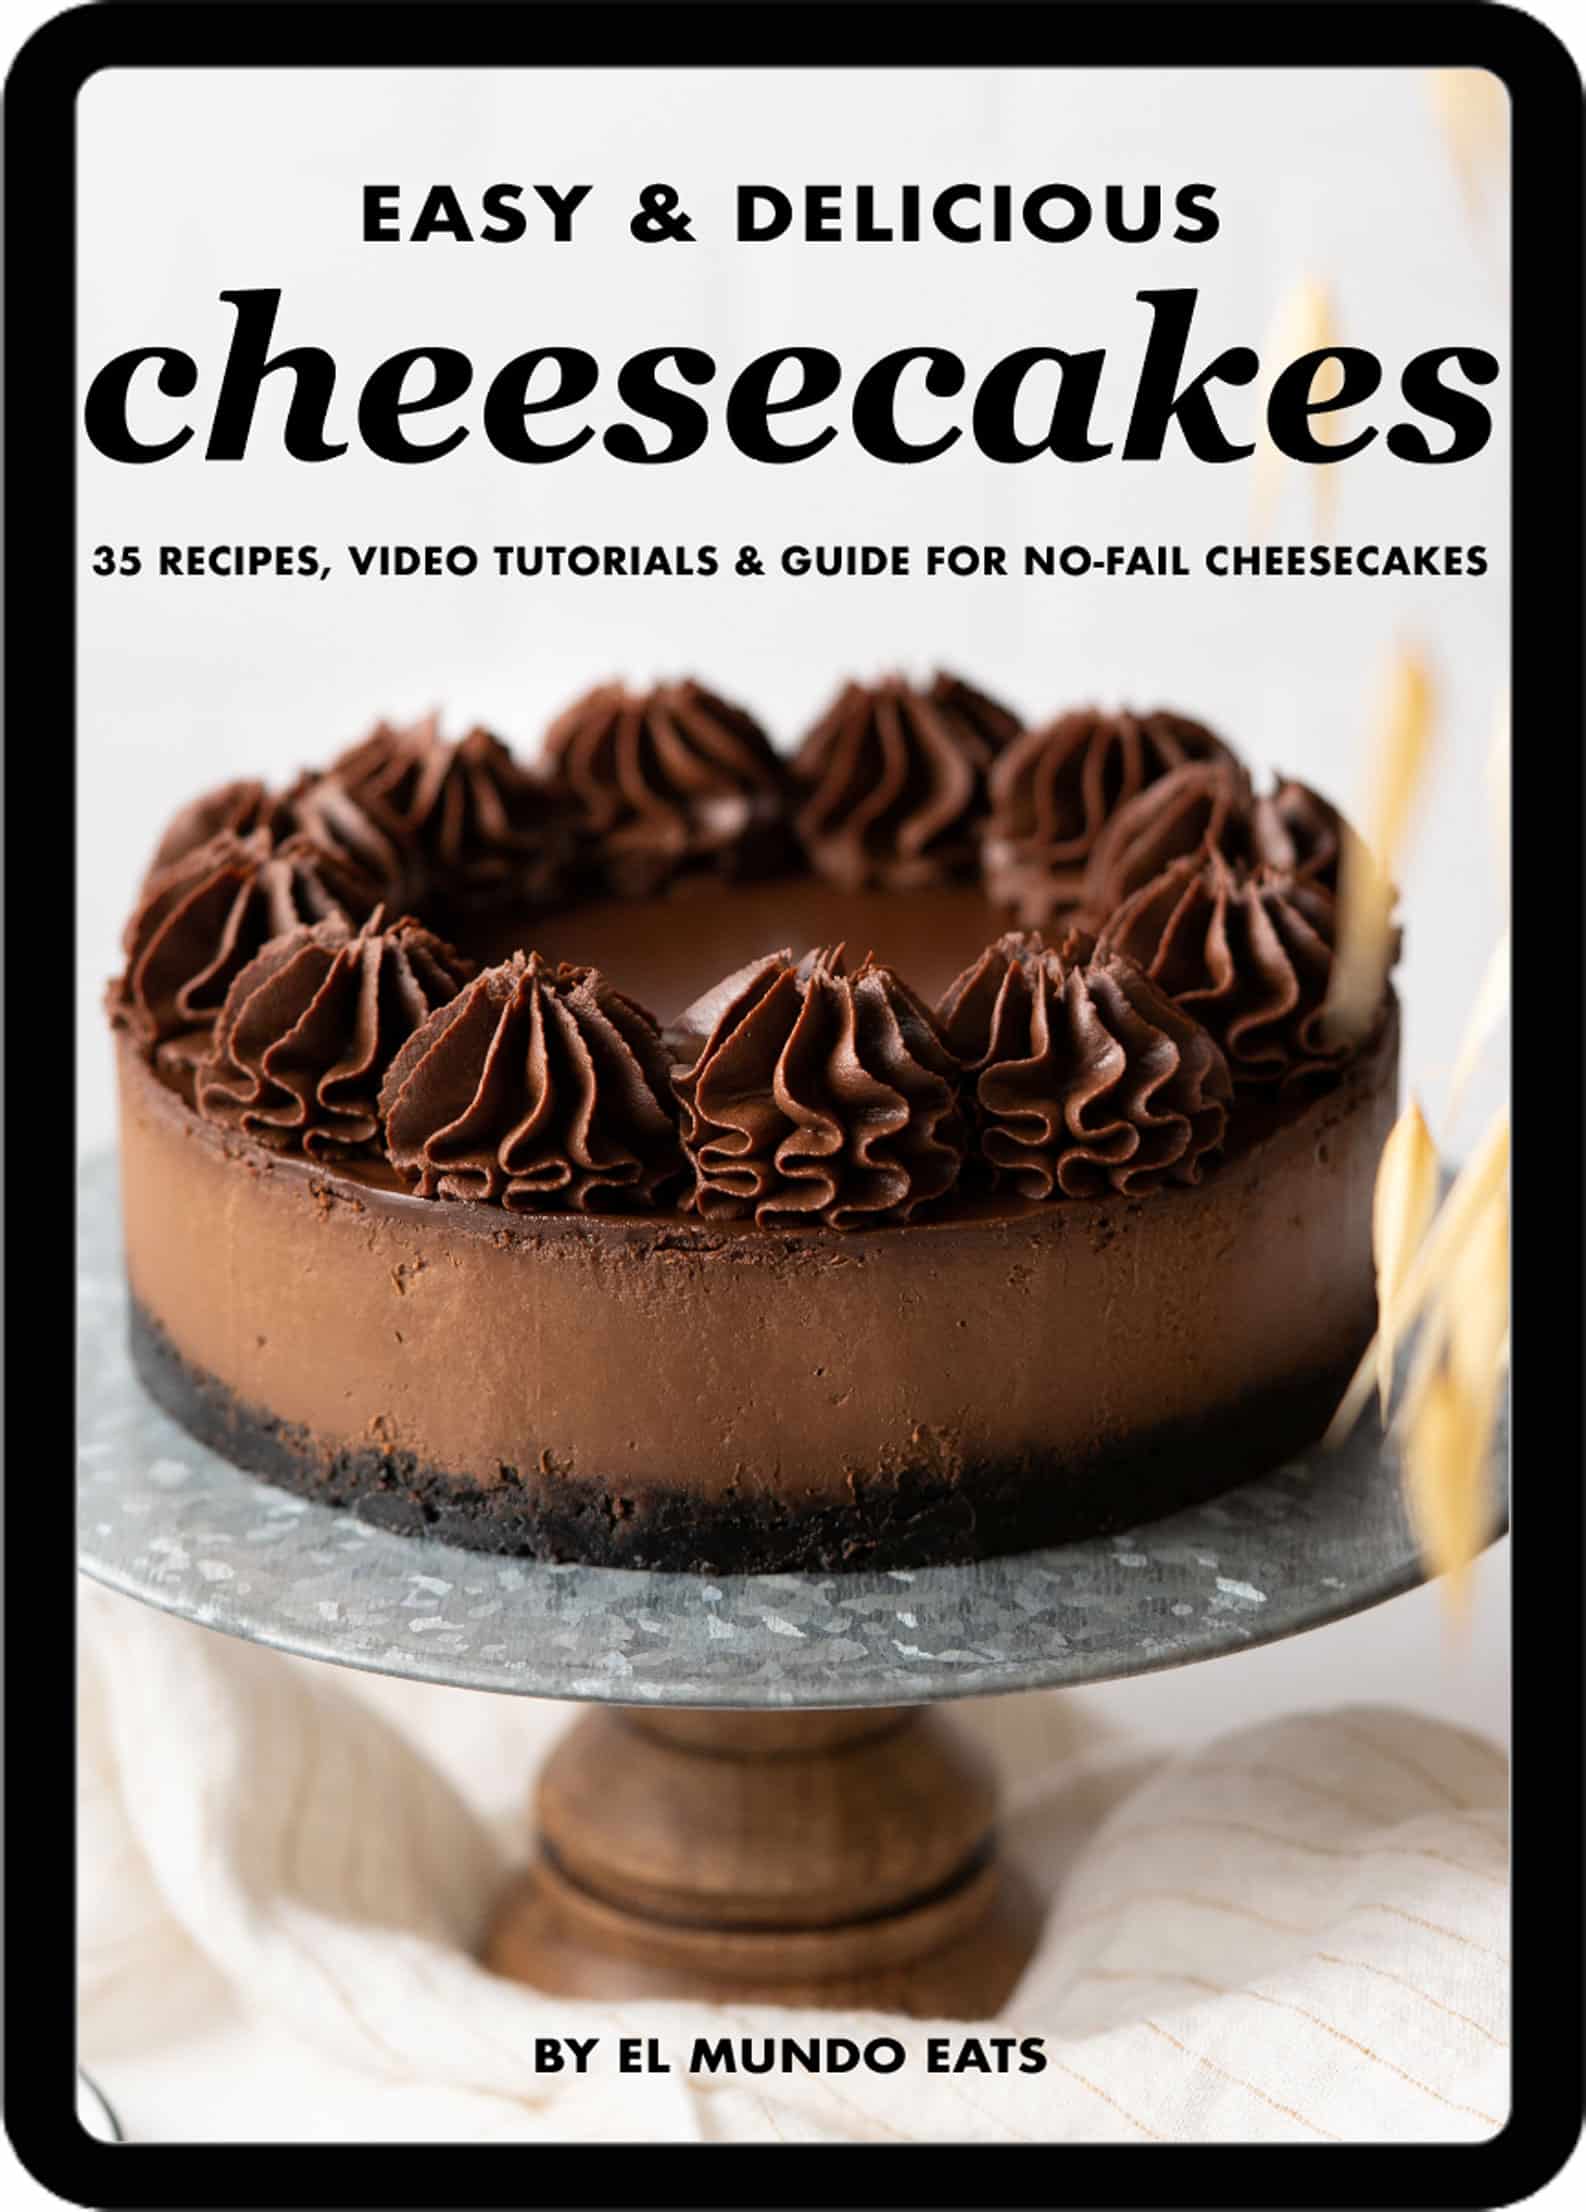
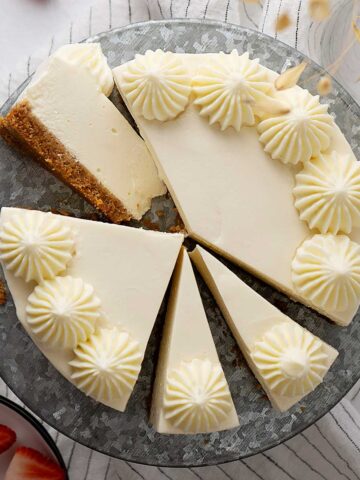
make cheesecakes like a pro!
Get our Cheesecakes eBook!
35 cheesecake recipes, tutorials, and guides - all in one place! Become a cheesecake master with our easy-to-follow recipes and expert tips. Discover the secrets to making the perfect cheesecake every time.