Welcome to El Mundo Eats!
Here, you'll discover a collection of simplified Asian and sweet recipes crafted for ease and reliability. Our mission is to equip you with detailed, step-by-step instructions, making cooking a seamless and enjoyable adventure!
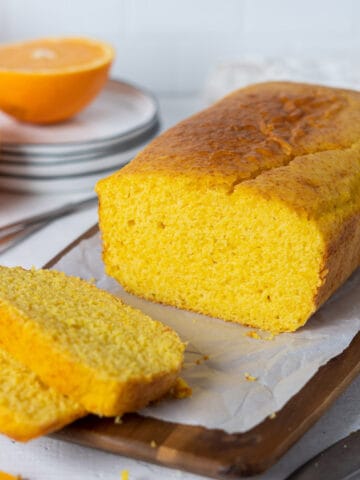
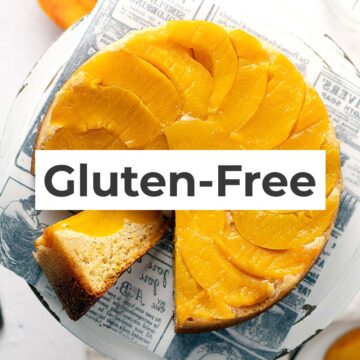
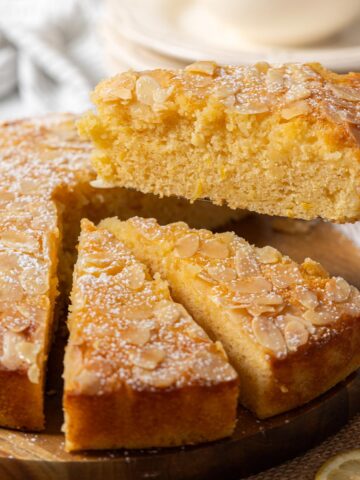
Spring Recipes
Spring is the time to welcome fresh produce and vibrant flavors. Let's dive into the season with these delicious recipes!


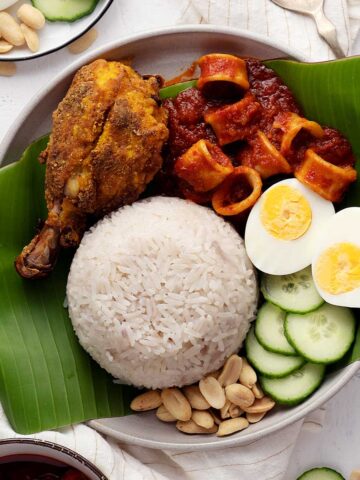
viral recipe!
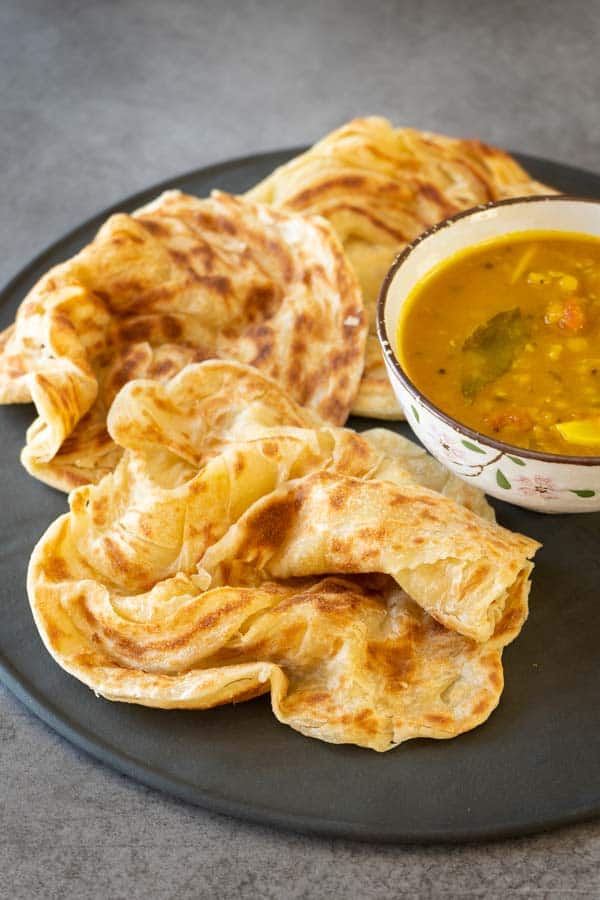
Malaysian Flatbread (Roti Canai)
⭐⭐⭐⭐⭐
I can’t believe how well they turned out! My favourite Malaysian restaurant closed recently and I have been missing my roti fix. So happy to know I’ll be able to make them for myself. 😊
- Paula
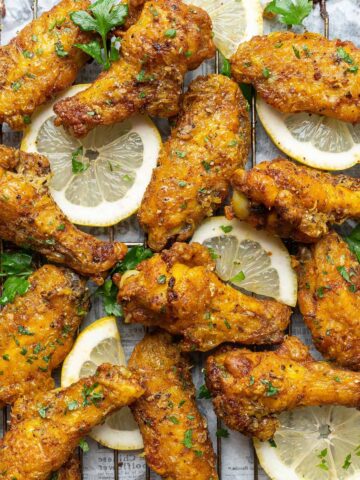
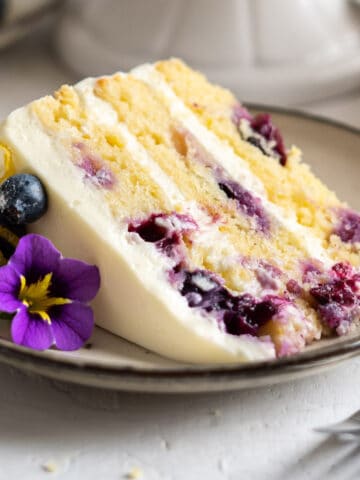
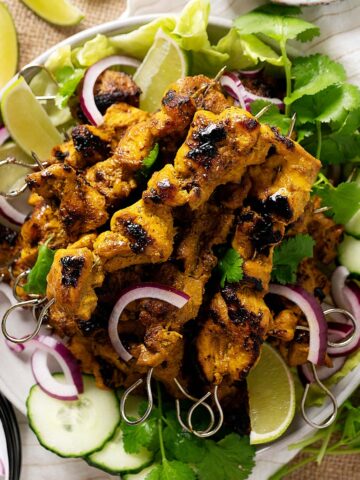
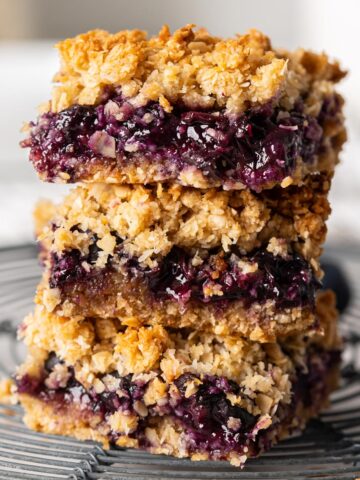
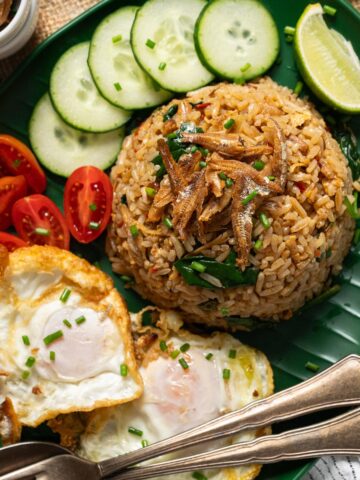
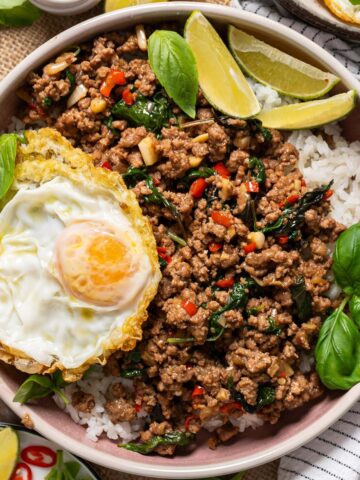
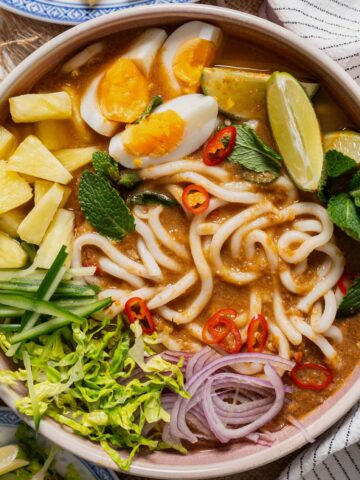
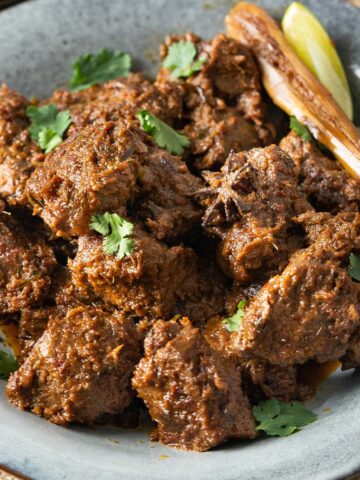
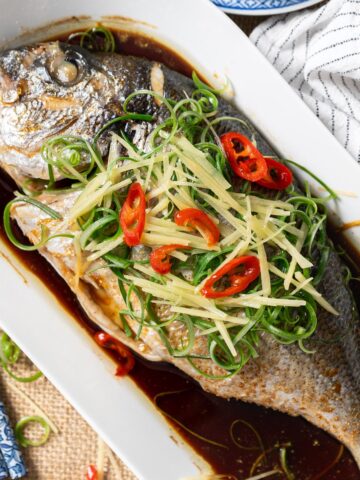
Trending Recipes
These are our readers' top picks, which are sure to bring you success. They have been made, loved, and shared by so many people, and we just couldn't keep them to ourselves!


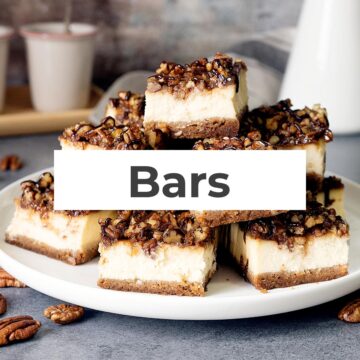
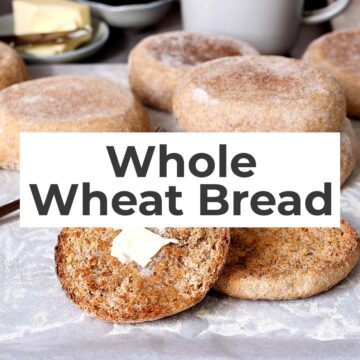
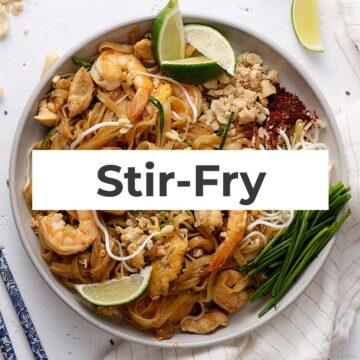
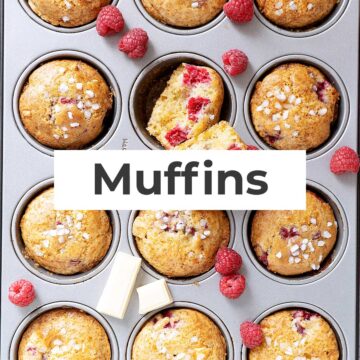
Explore These Categories

Welcome!
Hey there! Are you a foodie looking for a multicultural experience? Look no further! We are Bea and Marco, a Malaysian-Argentine couple who welcome all eaters to join us for a delicious and diverse culinary adventure. Trust us, your taste buds won't be disappointed!


our favorite
Malaysian Recipes
You have got to try this amazing, underrated, diverse, and unique cuisine! Trust me, you won't regret it!


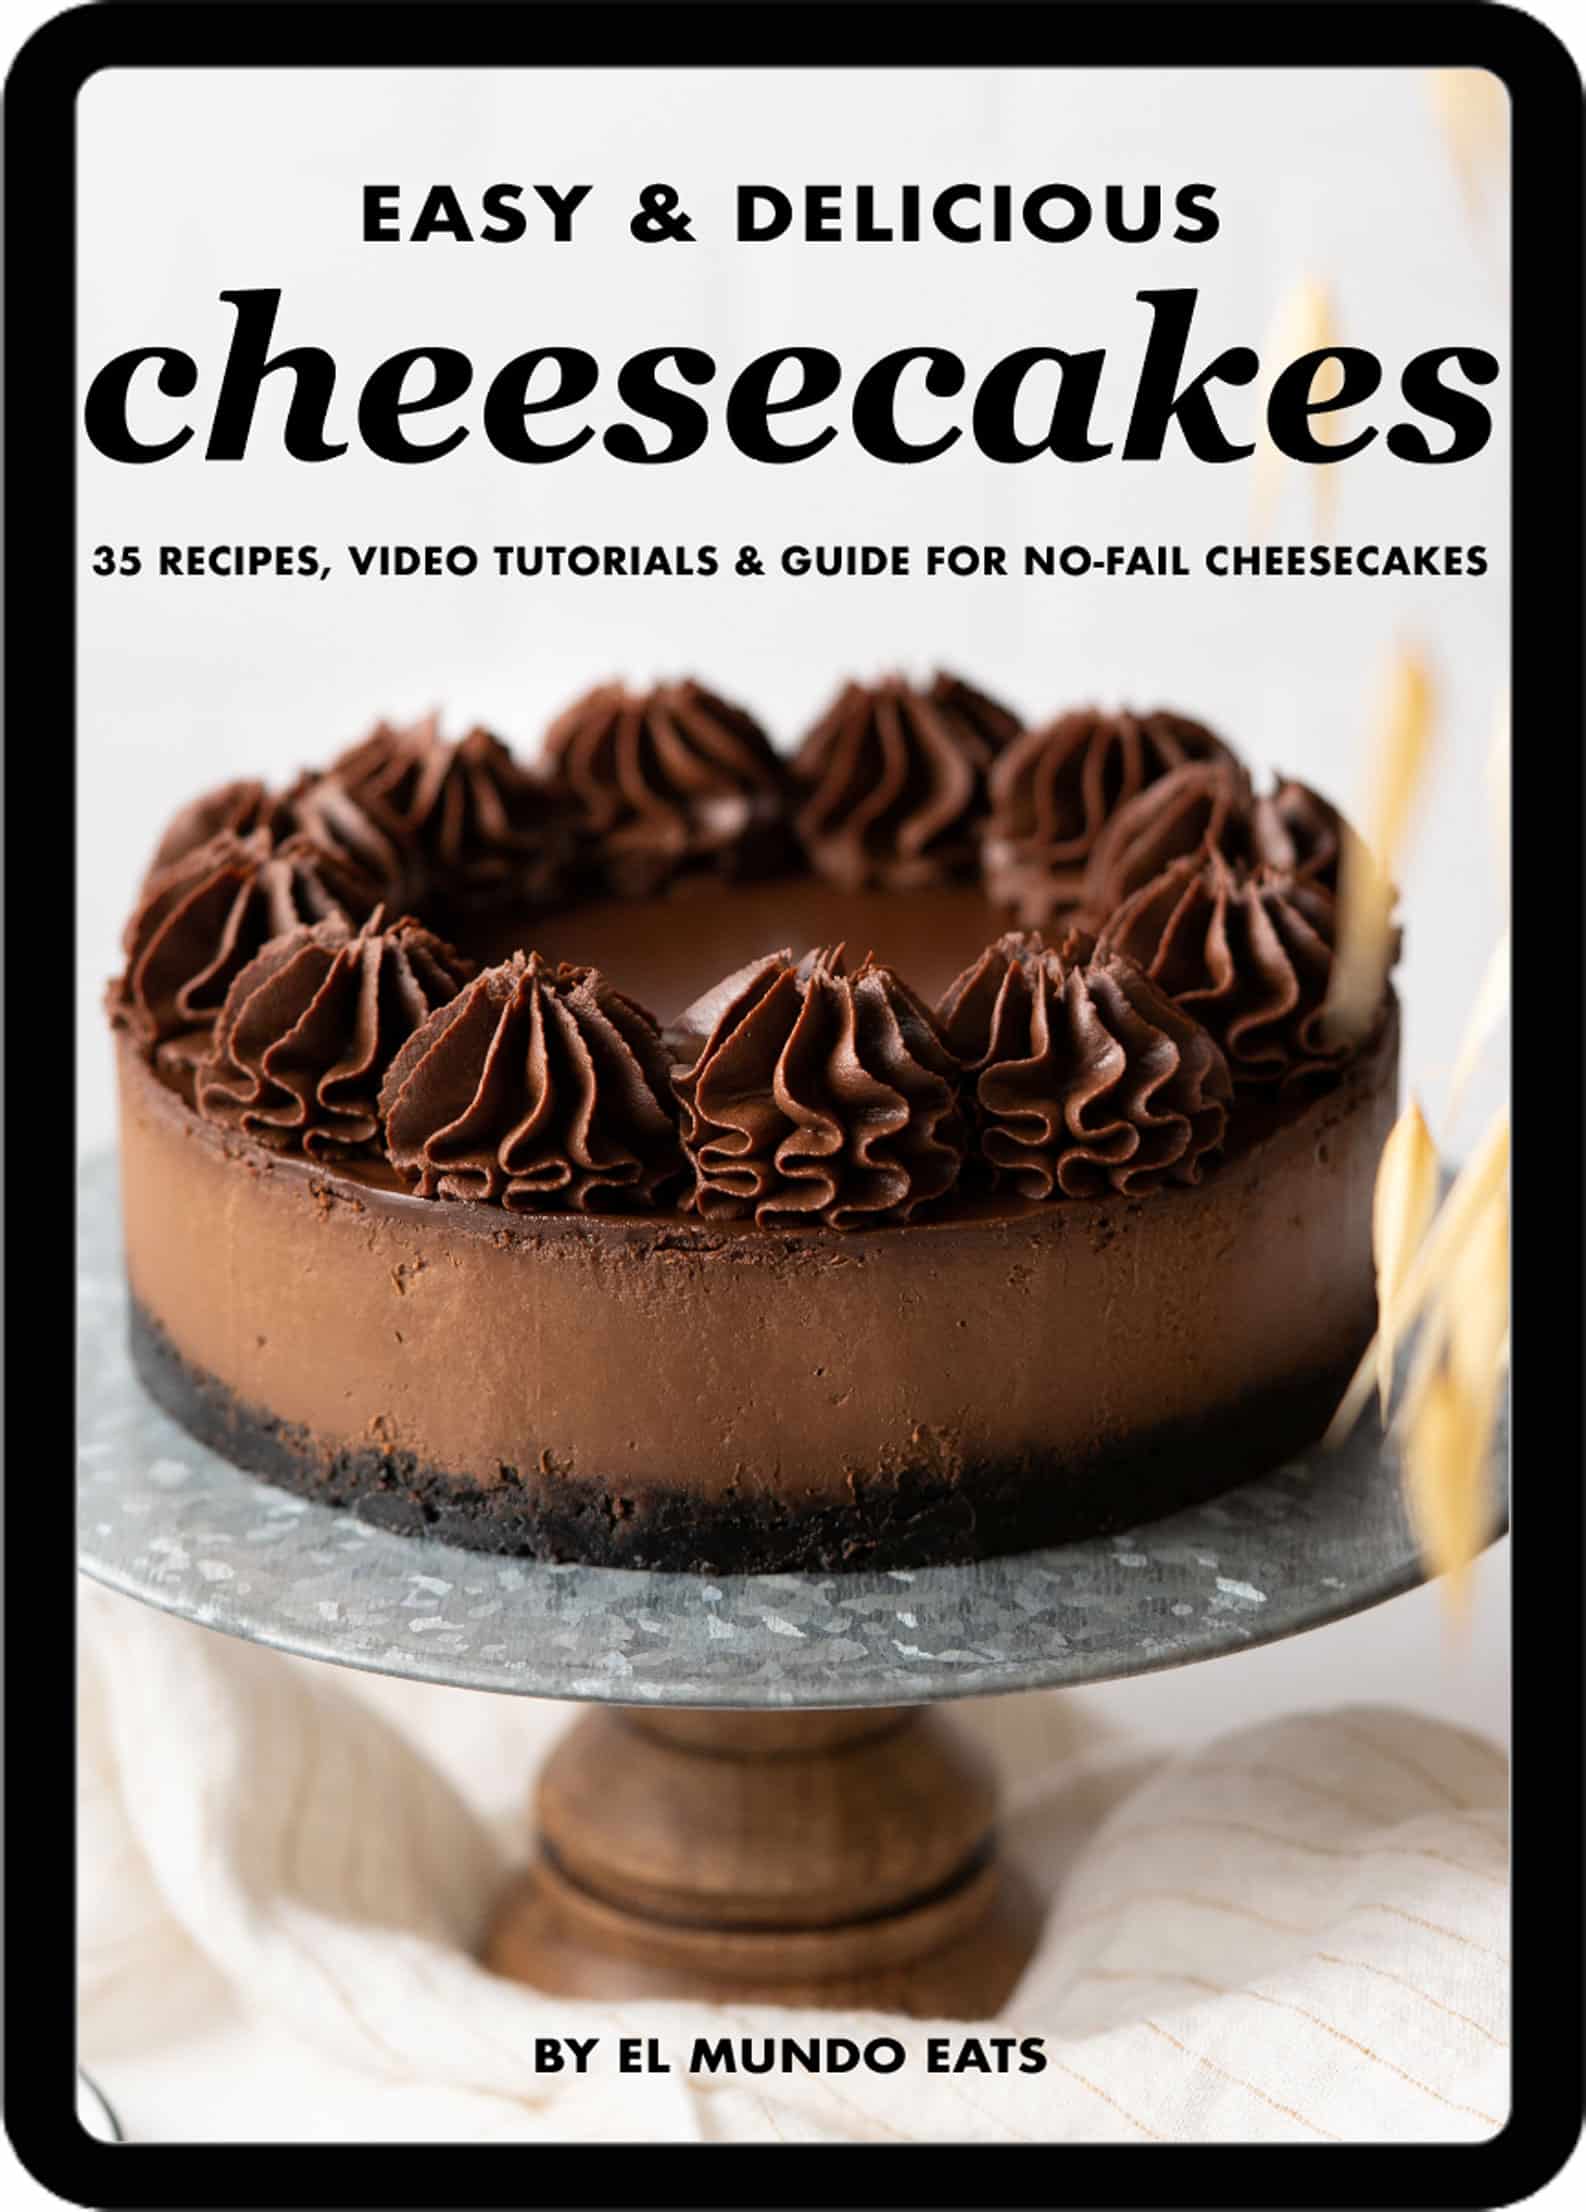
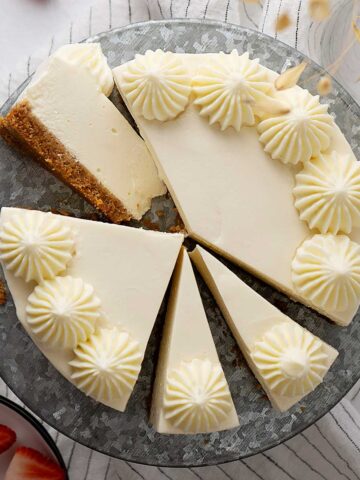
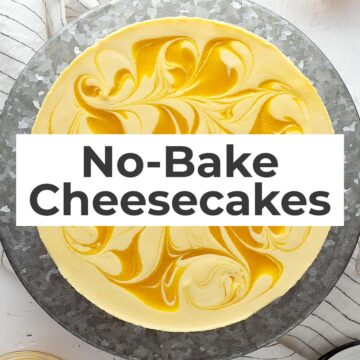
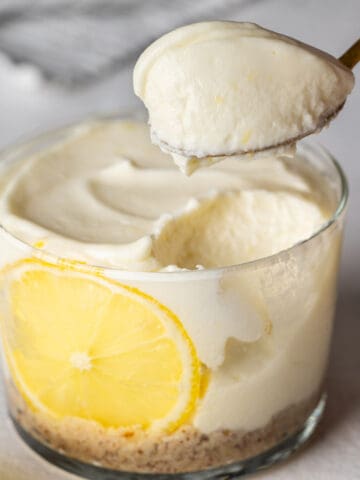
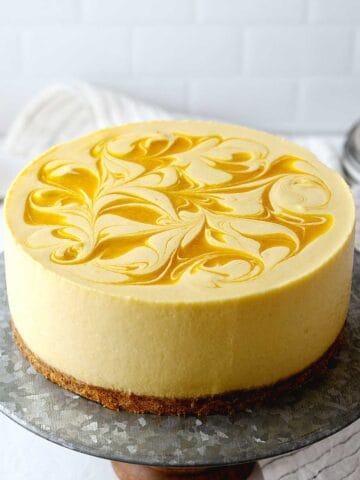
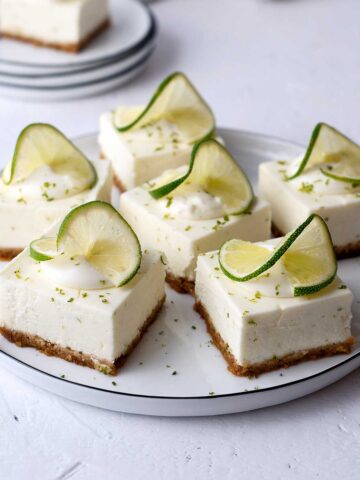
make cheesecakes like a pro!
Get our Cheesecakes eBook!
35 cheesecake recipes, tutorials, and guides - all in one place! Become a cheesecake master with our easy-to-follow recipes and expert tips. Discover the secrets to making the perfect cheesecake every time.